 Code Scanning
This article introduces how to use Zadig's code scanning feature. Currently, the following functionalities are supported:
- Supports code scanning for all programming languages
- Supports using SonarQube and custom tools within Zadig for code scanning
- Supports configuring quality gate checks based on SonarQube scan results
- Supports one-click navigation to the Sonar system to analyze code scan results
- Supports code scanning for multiple code repositories
- Supports automatically triggering code scanning based on code changes
- Supports notifying the code scanning results to DingTalk, Enterprise WeChat, and Feishu
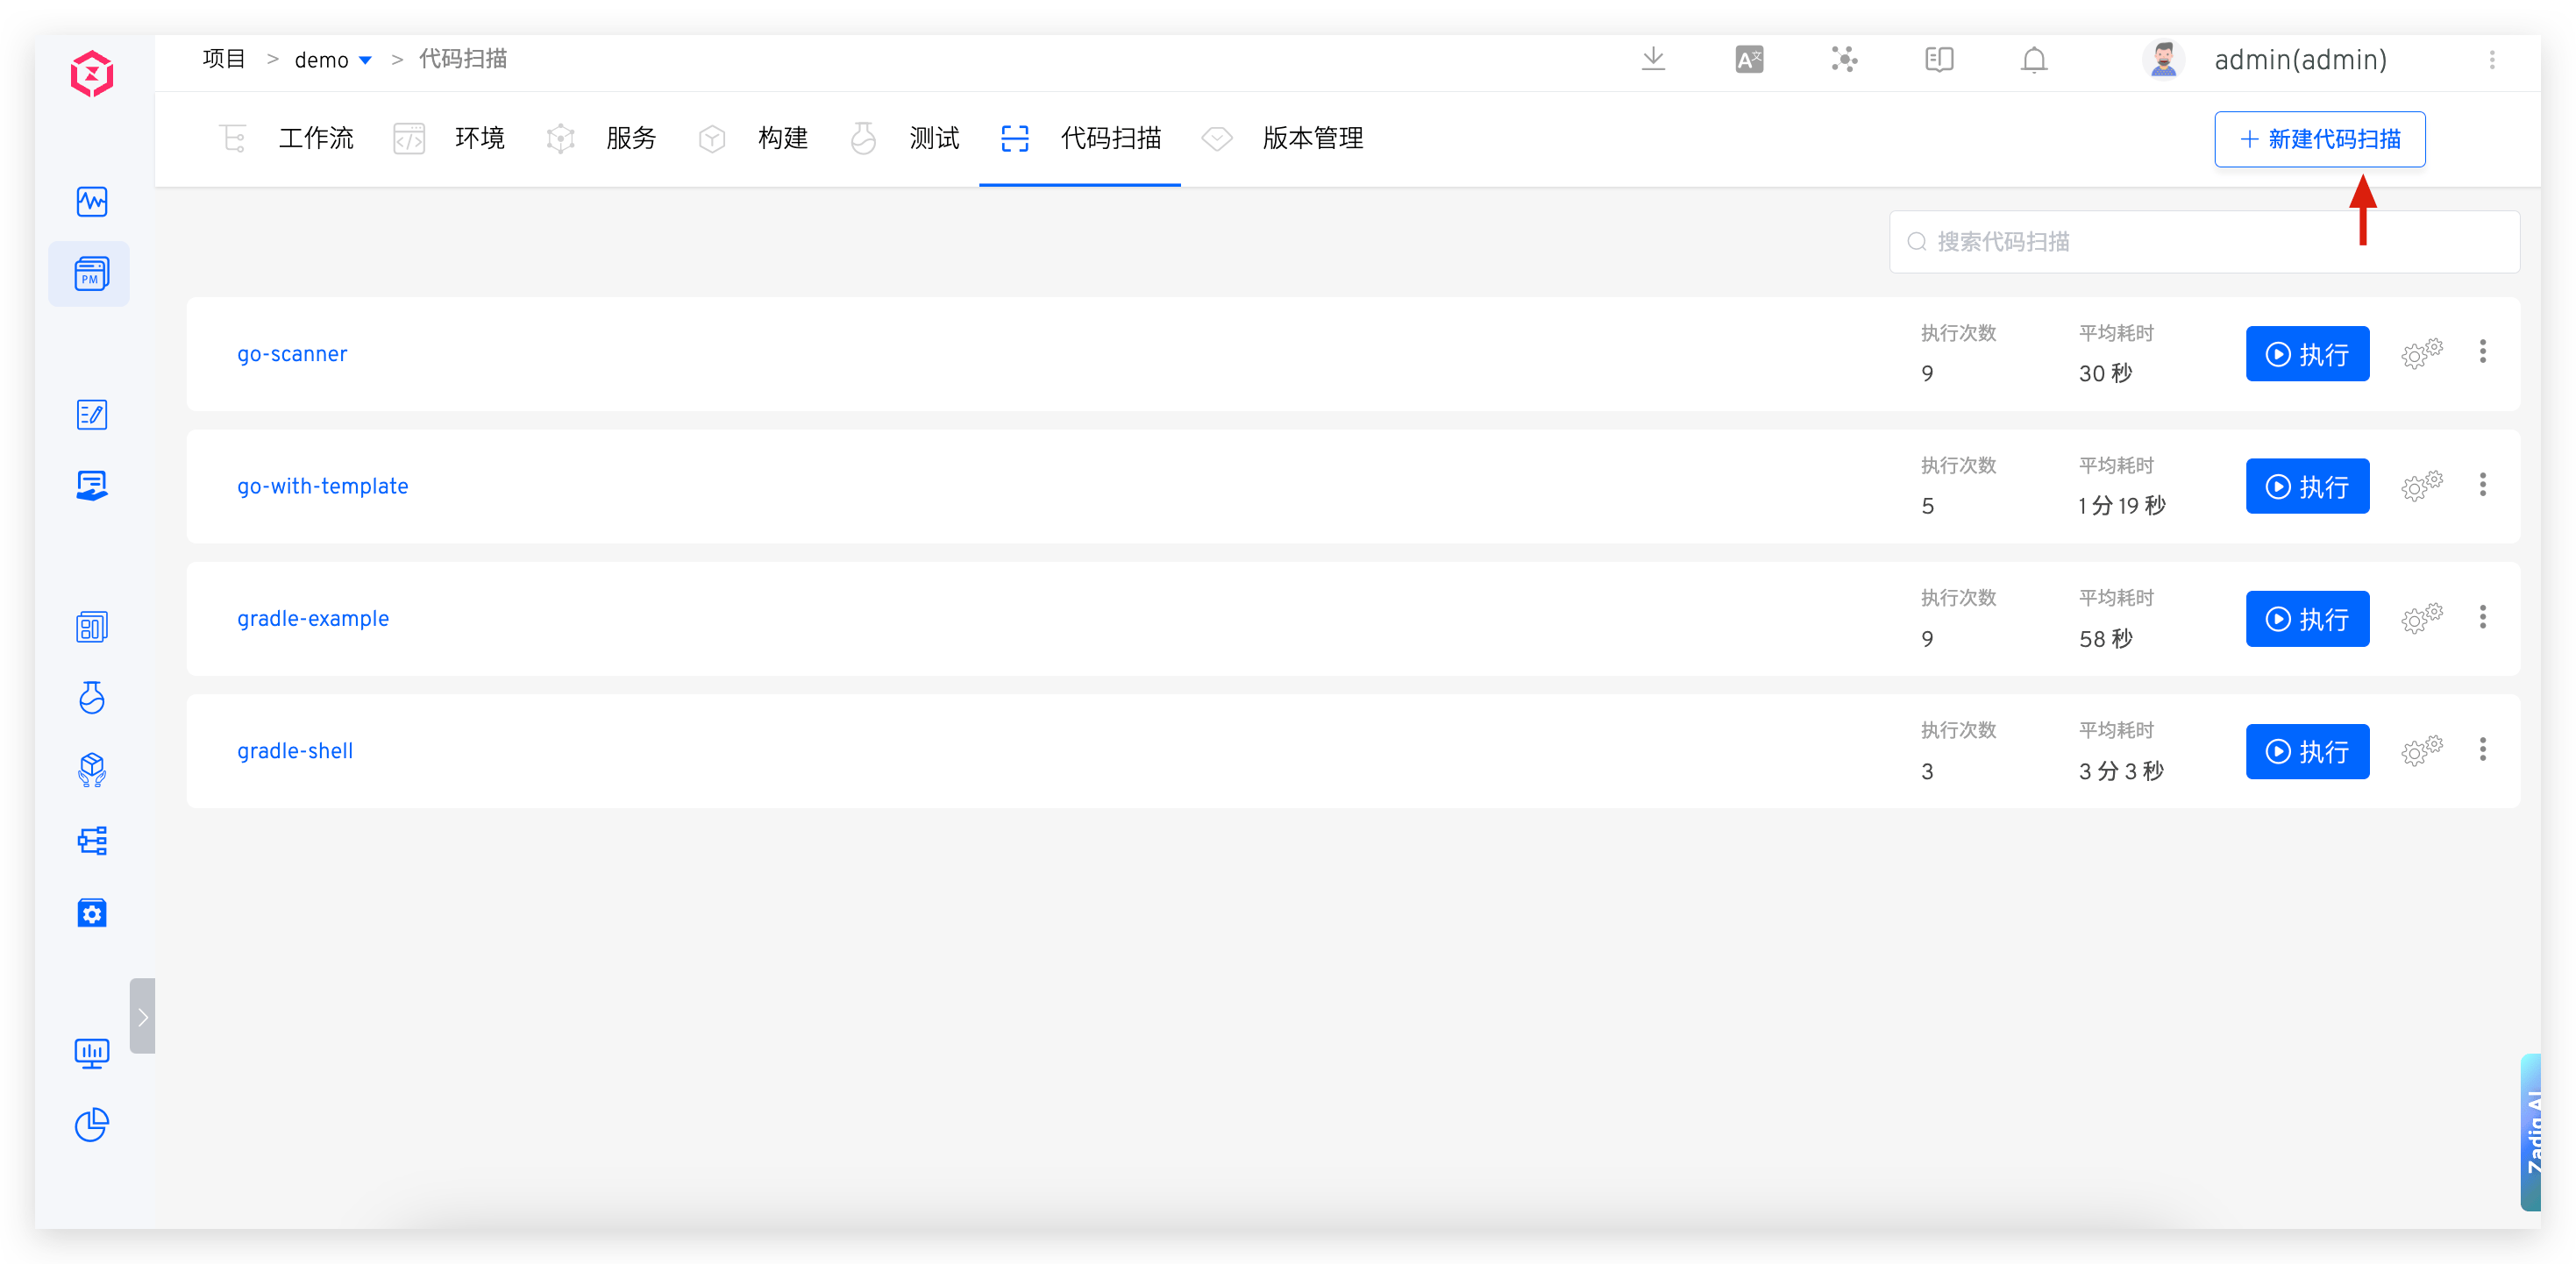
# Create a New Code Scan
Go to the project → Code Scanning, click Create and fill in the configuration.

# Basic Information
Name: The name of the code scan, no duplication is allowed under the same projectScanner: You can specifySonarQubeorOtherInfrastructure: Supports executing code scanning tasks on Kubernetes and hostsBasic Image: The specific runtime environment when executing the code scanning task- If you use the
SonarQubetool for code scanning, the system has a built-in environmentsonarthat supports this tool. Selectsonar - If you use other tools for code scanning, you can refer to Custom Image and add as needed
- If you use the
Packages: When using theSonarQubetool for code scanning, you can configure this item to specify various software package tools needed during the scanning process, such as different versions of Java, Go, Node, etc- When selecting software packages, pay attention to the dependencies between multiple software packages and install them in the correct order. For example: Govendor depends on Go, so select Go first, then Govendor
- The platform has some common software packages built-in. If you have other software packages or version requirements, the system administrator can configure the installation scripts in Package Management
Sonar Host: This item must be configured when using theSonarQubetool for code scanning- You need to integrate Sonar into the system in advance. Refer to Sonar Integration
- When the code scanning is completed, Zadig will upload the results to the specified system
# Code Information
Configure code information for code scanning. When the code scanning is executed, the code will be pulled according to the specified configuration. For supported code sources, refer to Code Source Information. For specific fields in the code information, refer to Code information field description.
# Variables
Includes system-built-in variables and user-defined variables, which can be used directly in the scanning scripts.
Tip: Add
envcommands to Scan script to view all build variables.
Built-in Variables
The built-in variables and their descriptions are as follows:
| Variable Name | Description |
|---|---|
SONAR_URL | Sonar Server access address |
WORKSPACE | The working directory of the current code scan |
PROJECT | Project identifier |
TASK_ID | The ID of the code scan task |
TASK_URL | The URL of the code scan task |
CI | The value is always true and can be used as needed, such as to determine whether it is a CI script or another script |
Zadig | The value is always true and can be used as needed, such as to determine whether it is executed in the Zadig system |
REPONAME_<index> | 1. Get the name of the code repository at the specified <index>2. <index> is the position of the code in the code scanning configuration, with an initial value of 03. In the following example, using $REPO_0 in the build script will get the name of the first code repository voting-app |
REPO_<index> | 1. Get the name of the code repository at the specified <index> and automatically replace the hyphen - in the name with an underscore _2. <index> is the position of the code in the code scanning configuration, with an initial value of 03. In the following example, using $REPO_0 in the build script will get the converted name of the first code repository voting_app |
<REPO>_PR | 1. Get the Pull Request information specified for <REPO> during the code scanning process. Please replace <REPO> with the specific code base name when using it2. When the <REPO> information contains a hyphen -, replace - with an underscore _3. In the following example, to get the Pull Request information for the voting-app repository, use $voting_app_PR or eval PR=\${${REPO_0}_PR}4. If multiple PRs are specified during the build, such as PR IDs 1, 2, 3, the value of the variable will be 1,2,35. When the code base is from the other code source, this variable is not supported |
<REPO>_BRANCH | 1. Get the branch information specified for <REPO> during the code scanning process. Please replace <REPO> with the specific code base name when using it2. When the <REPO> information contains a hyphen -, replace - with an underscore _3. In the following example, to get the branch information for the voting-app repository, use $voting_app_BRANCH or eval BRANCH=\${${REPO_0}_BRANCH} |
<REPO>_PRE_MERGE_BRANCHES | 1. Pre-merge branches for multi-branch merge builds; <REPO> is the specific repository name and can be provided directly or together with the $<REPO_INDEX> variable2. If <REPO> contains a hyphen -, replace it with an underscore _3. For example, use eval BRANCH=\${${REPO_0}_PRE_MERGE_BRANCHES} to retrieve the pre-merge branch information of the first repository |
<REPO>_TAG | 1. Get the Tag information specified for <REPO> during the code scanning process. Please replace <REPO> with the specific code base name when using it2. When the <REPO> information contains a hyphen -, replace - with an underscore _3. In the following example, to get the Tag information for the voting-app repository, use $voting_app_TAG or eval TAG=\${${REPO_0}_TAG} |
<REPO>_COMMIT_ID | 1. Get the Commit ID information specified for <REPO> during the code scanning process. Please replace <REPO> with the specific code base name when using it2. When the <REPO> information contains a hyphen -, replace - with an underscore _3. In the following example, to get the Commit ID information for the voting-app repository, use $voting_app_COMMIT_ID or eval COMMIT_ID=\${${REPO_0}_COMMIT_ID}4. When the code base is from the other code source, this variable is not supported |
<REPO>_ORG | 1. Get the organization/user information specified for <REPO> during the code scanning process. Please replace <REPO> with the specific code base name when using it2. When the <REPO> information contains a hyphen -, replace - with an underscore _3. In the following example, to get the organization/user information for the voting-app repository, use $voting_app_ORG or eval ORG=\${${REPO_0}_ORG} |
Custom Variables
Explanation:
- Supports string (single-line/multi-line), single-choice, multiple-choice, and file type variables
- You can set string type variables as sensitive information, and the value of sensitive variables will not be output in the scan log
# Scan Script
Configure the scan script as needed to scan the code. 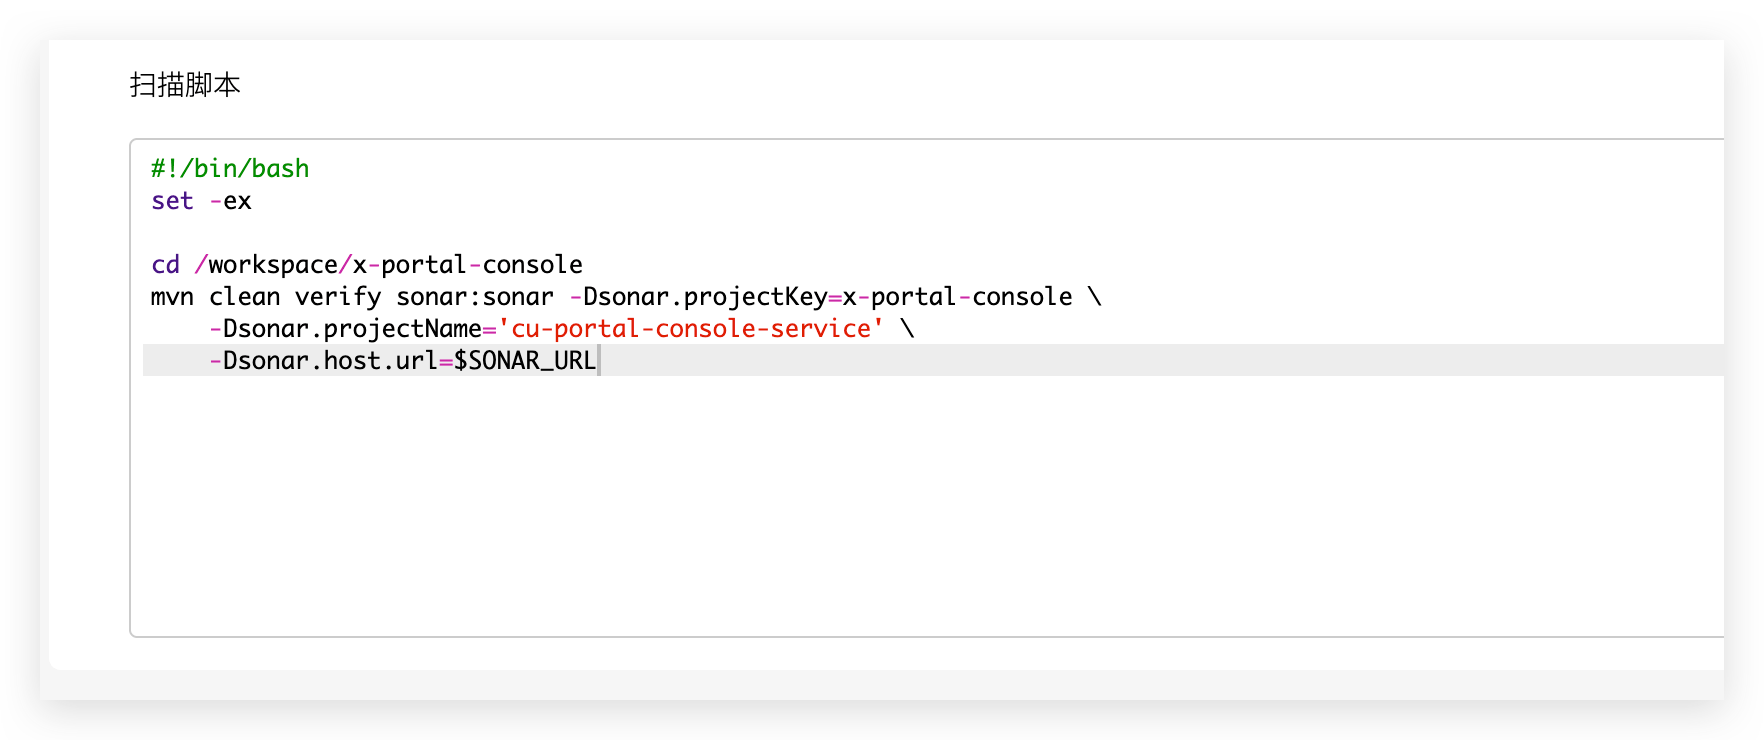
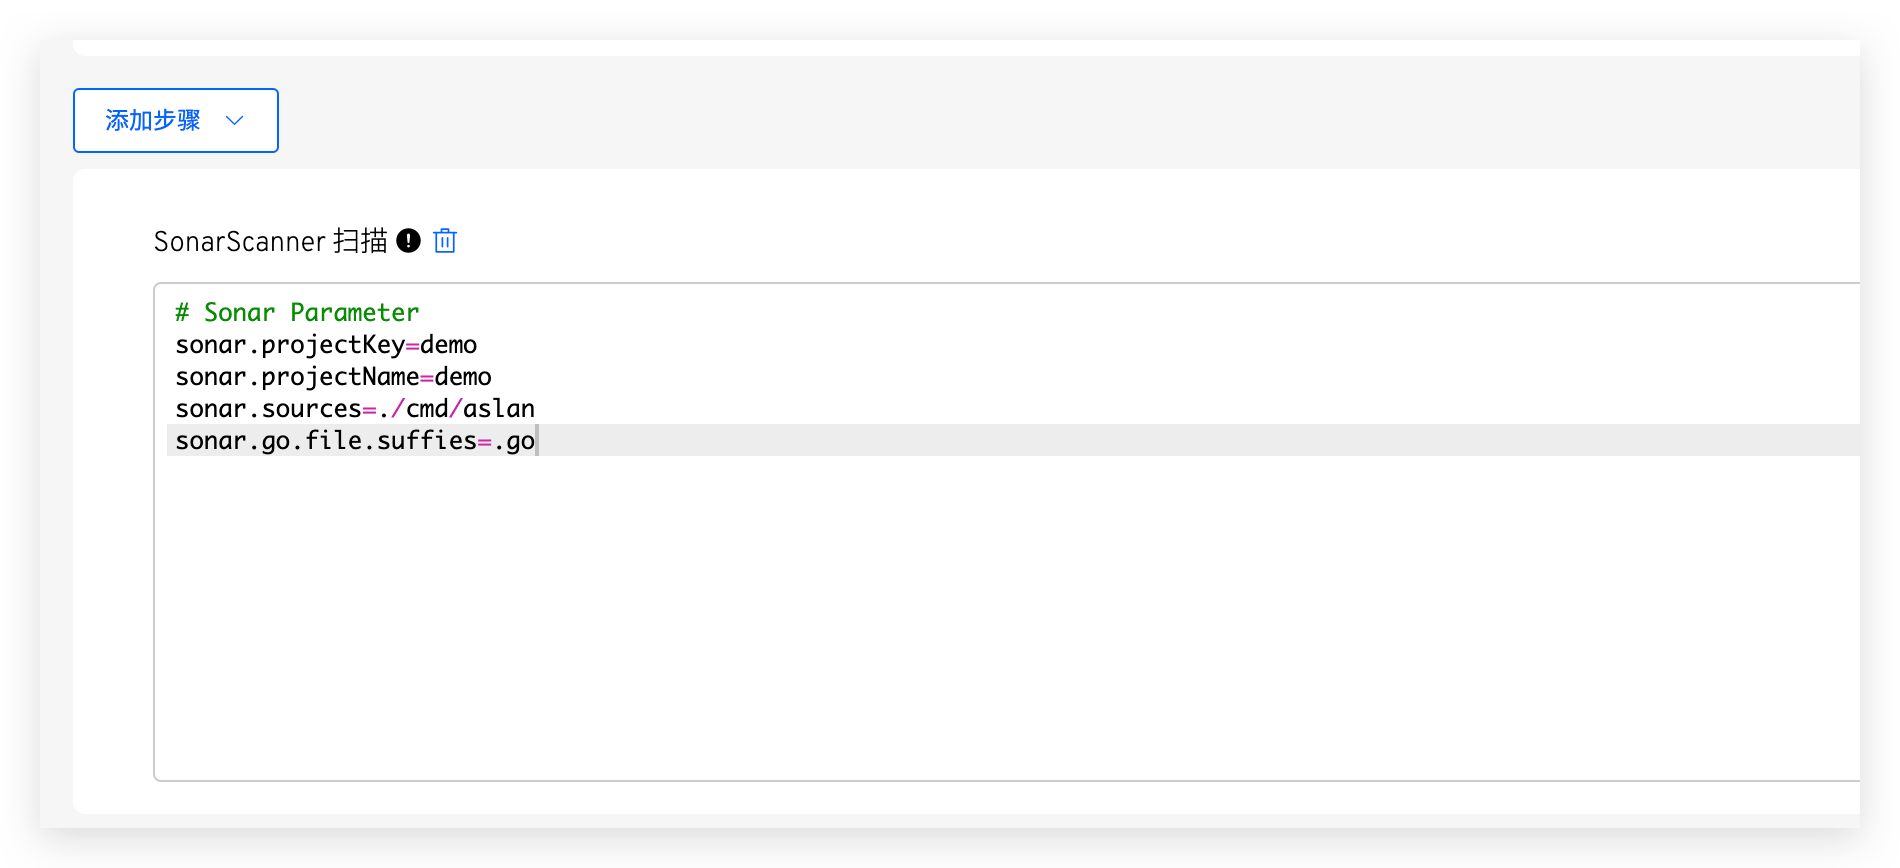
# SonarScanner Scan
In Add Steps, you can configure SonarScanner Scan. sonar.host.url and sonar.login do not need to be configured, as the system will automatically inject them when performing a code scan. For more parameter configurations, refer to the SonarQube documentation(opens new window).
# Advanced Configuration
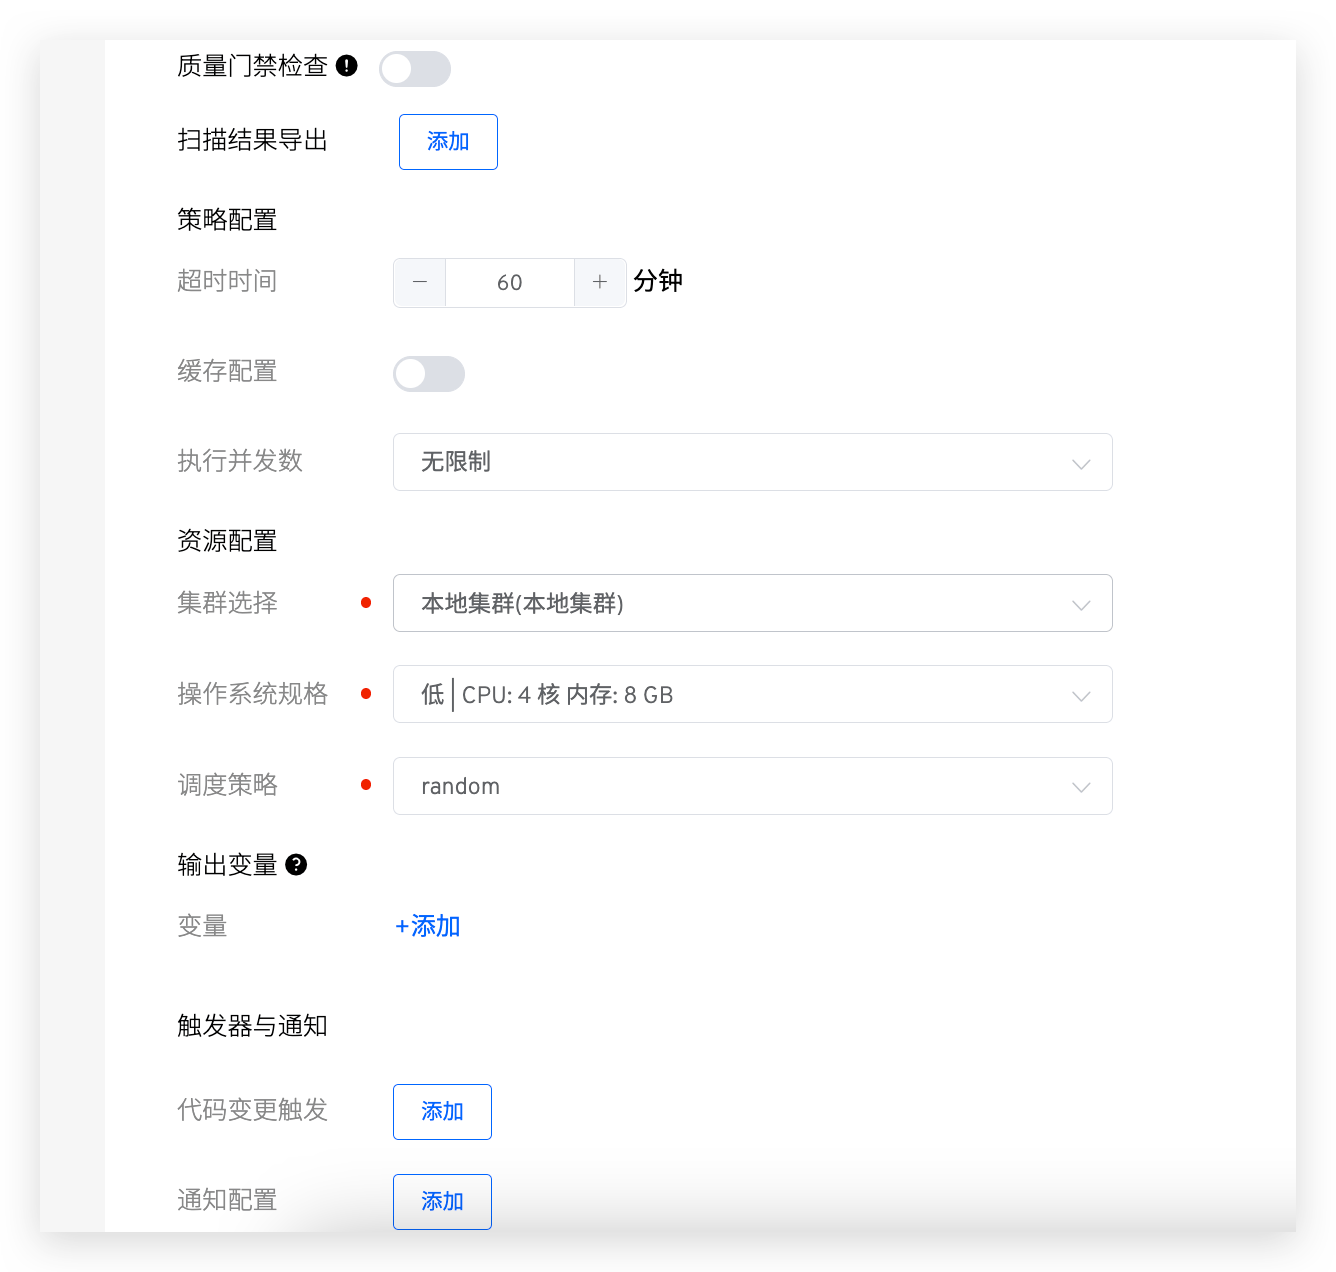
Explanation:
Quality Gate: Refer to Quality gate checkReport Export: Configure the scan report pathTimeout: If the scan does not complete within the set time threshold, it will be considered a timeout failureCache: After enabling the cache, the cache directory configured here will be used when the code scan is executedCluster: Select the cluster resource used when the code scan task runs. The local cluster refers to the cluster where the Zadig system is located. Refer to Cluster Management to integrate more cluster resourcesResources: Configure resource specifications for executing code scanning tasks. The platform provides four configurations for High/Medium/Low/Lowest. In addition, you can also customize according to actual needs. If you need to use GPU resource, resource configuration form isvendorname.com/gpu:num, refer to Scheduling GPU(opens new window) for more informationScheduling: Select the cluster scheduling policy, useRandom Schedulingpolicy by default. Refer to Set scheduling policyOutput Variables: Output variables from the code scan to enable variable passing between different tasks in the workflow, refer to Variable PassingTriggers and Notifications: Configure Webhook Event, automatically trigger code scanning task execution, configuration details refer to Triggers and notifications
# Triggers and Notifications
# Triggers
Refer to supported code source: Code Source Information
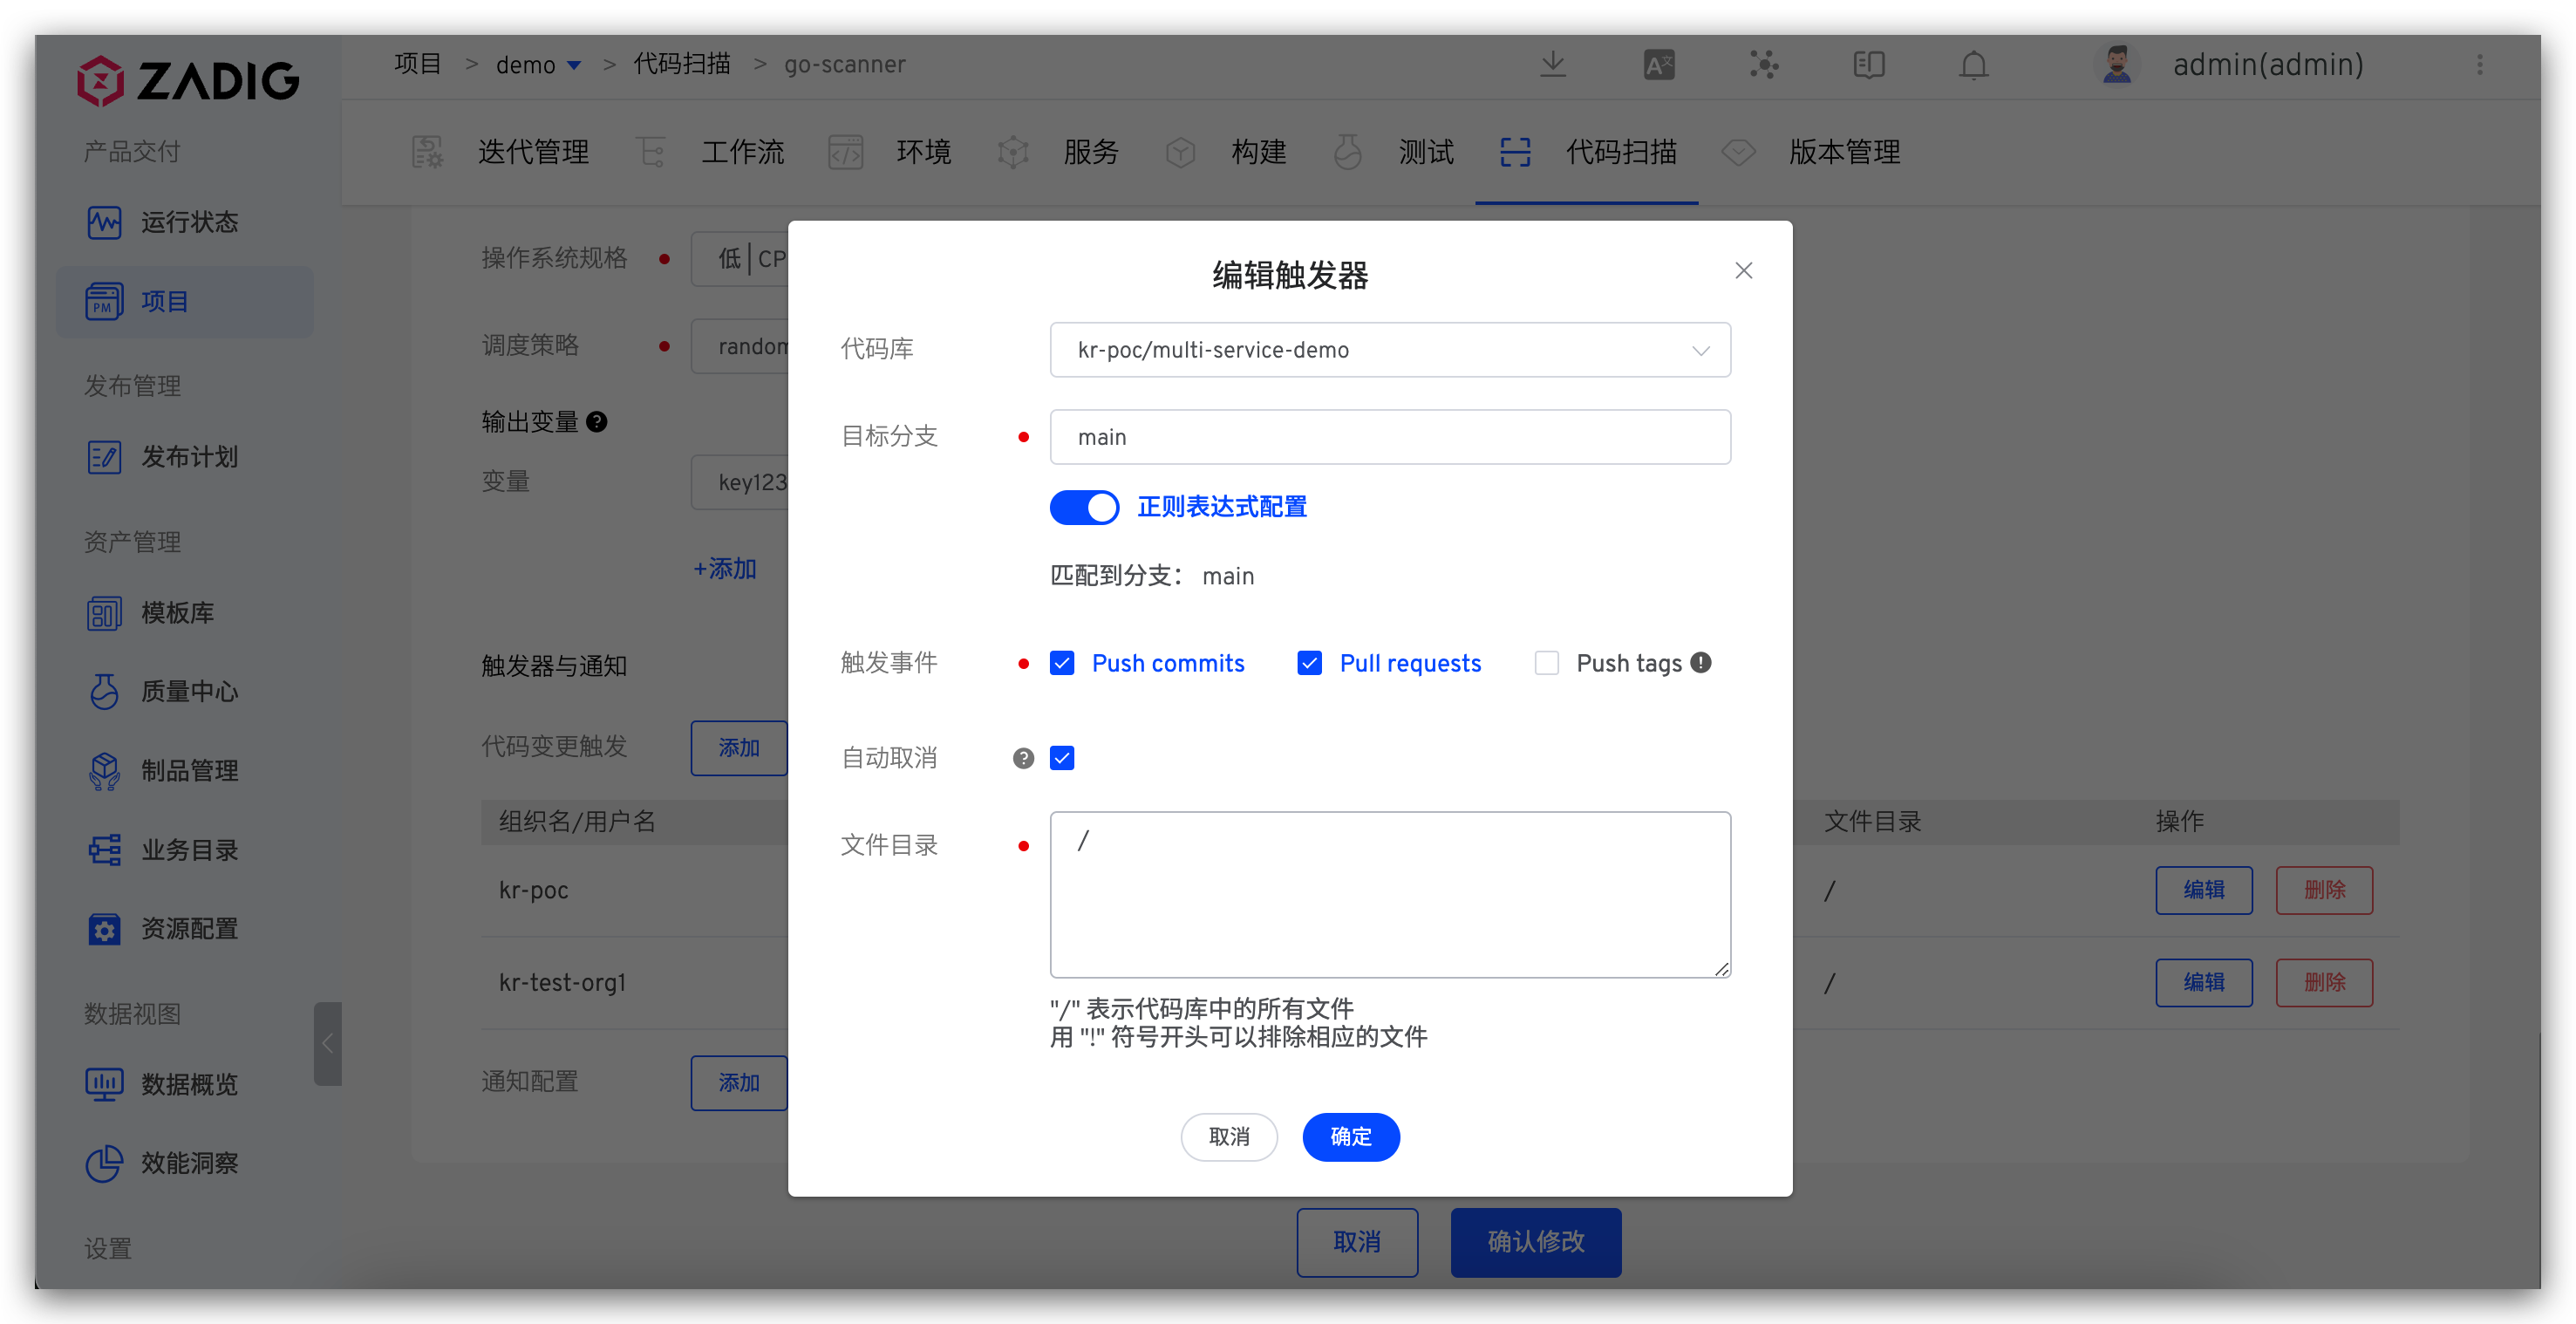
Parameter Description:
Repository: That is, the code library in Code information configurationTarget Branch: The branch that listens to the code change eventTrigger Event: Specify the Webhook event that triggers the code scan to run. The available events are as follows:Push commitsevent (Merge operation) triggeredPull requestsTriggered when submitting a pull requestPush tagsTriggered after creating a tag
Auto Cancel: If checked, when multiple Webhook events trigger code scanning tasks in sequence, the system will automatically cancel the task in the queueFile Directory: When the specified file or directory changes (new/modify/delete), a code scan is triggered, using the following code repository file structure example:
├── reponame  # Repository name
  ├── Dockerfile
  ├── Makefile
  ├── README.md
  ├── src
    ├── service1/
    ├── service2/
    └── service3/
2
3
4
5
6
7
8
| Trigger Scenario | File Directory Configuration |
|---|---|
| All file updates | / |
| All file updates except *.md | /!.md |
| All file updates except those in the service1 directory | /!src/service1/ |
| All file updates in the service1 directory | src/service1/ |
| File updates in the src directory (except those in the service1 directory) | src!src/service1/ |
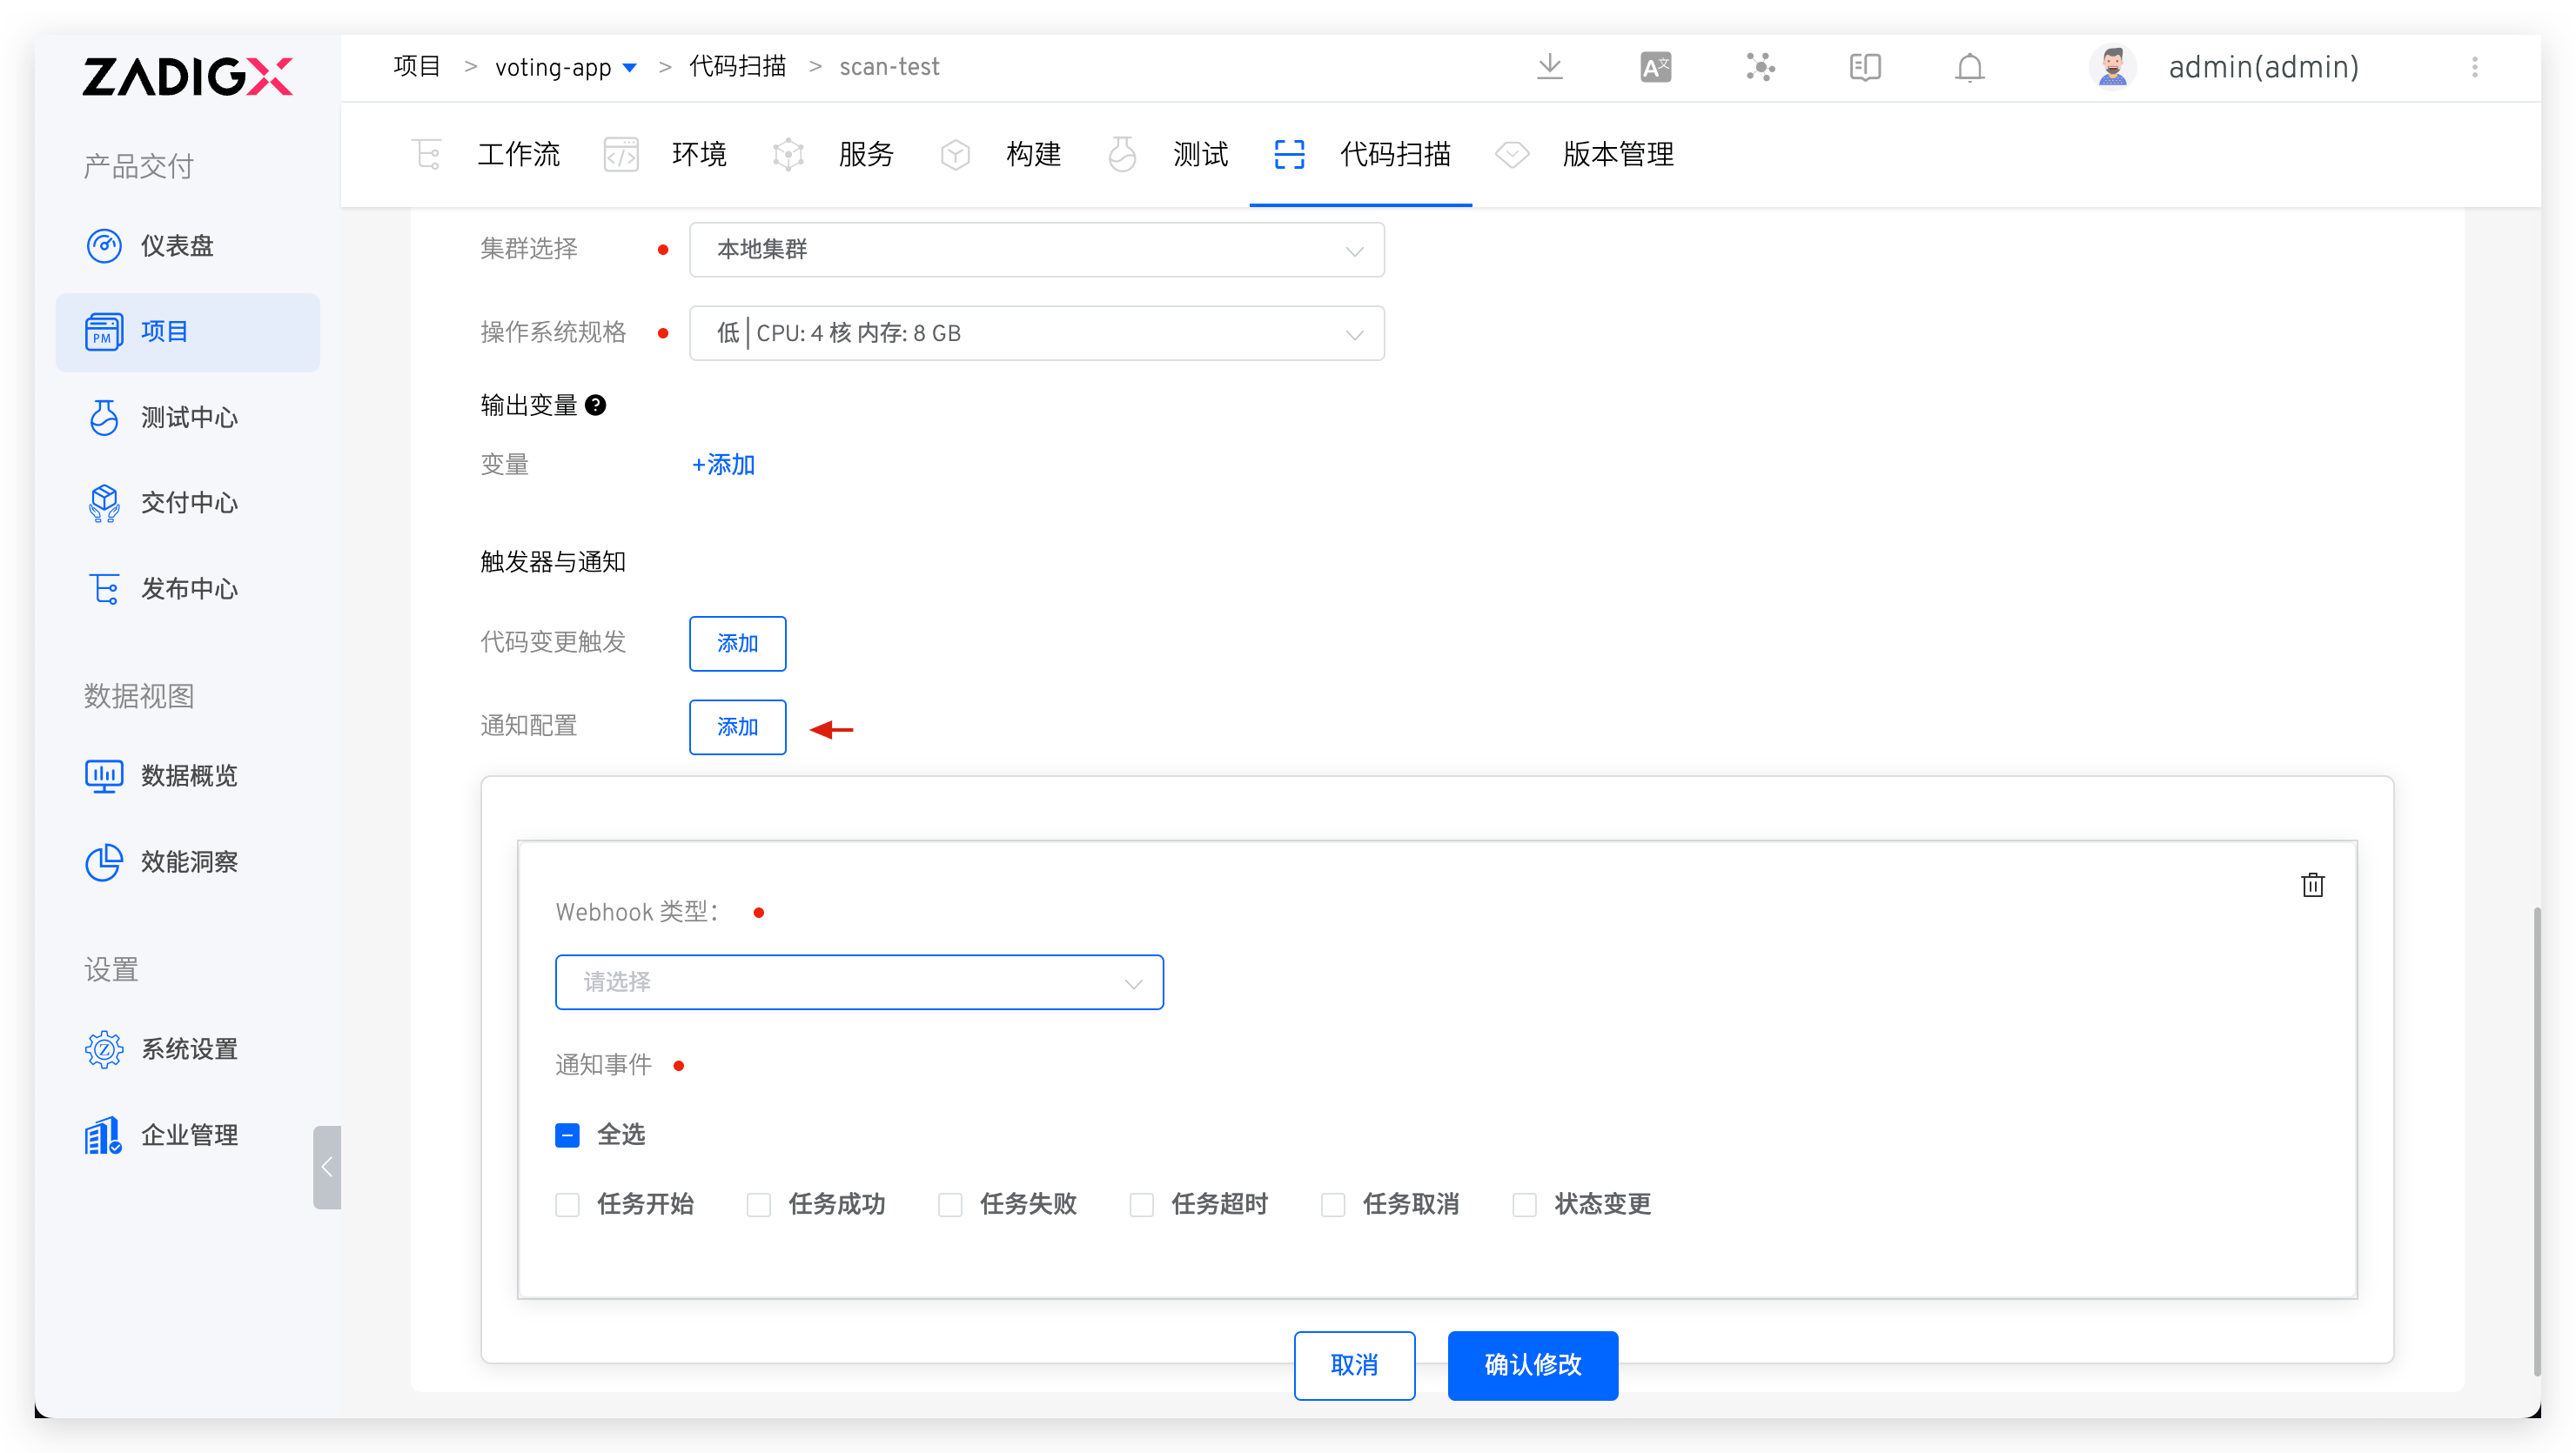
# Notification
Supports notifying the code scanning execution results to DingTalk, Enterprise WeChat, Feishu Platform, email, and Webhook. For configuration, refer to Notification.
# Quality Gate Check
Supported when the scan tool is SonarQube.
In the advanced configuration, enable the quality gate check. After enabling, Zadig will obtain the quality gate rules from SonarQube. If the quality gate fails, the task status will be set to failed. It will also return the specific rules and rule judgment results
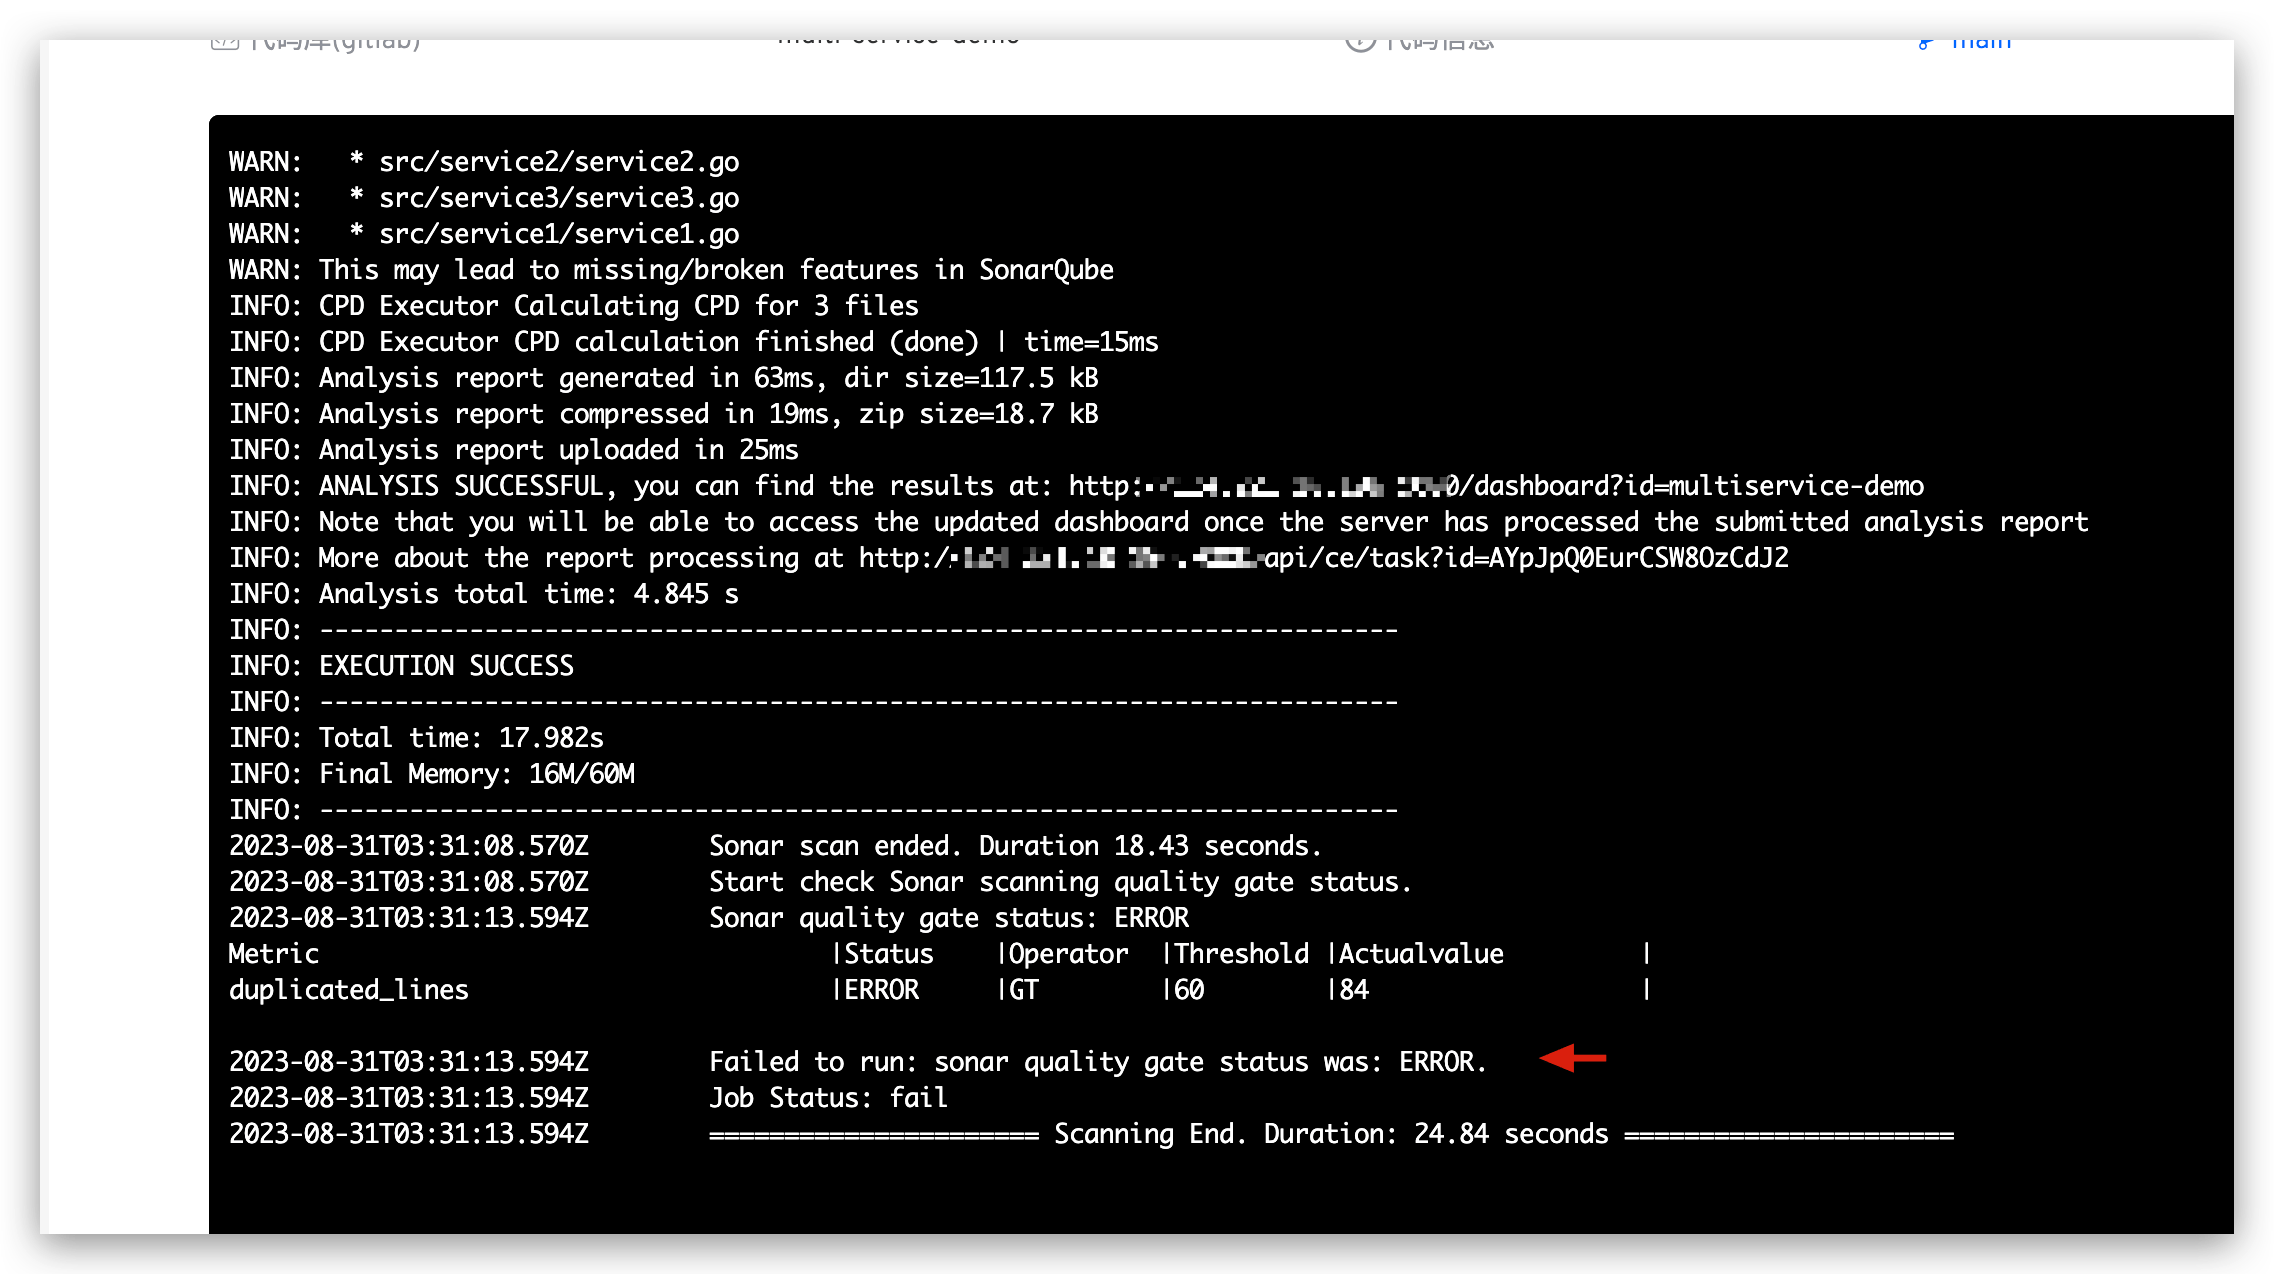
To set rules, go to the SonarQube system and modify or add the Quality Gate configuration.

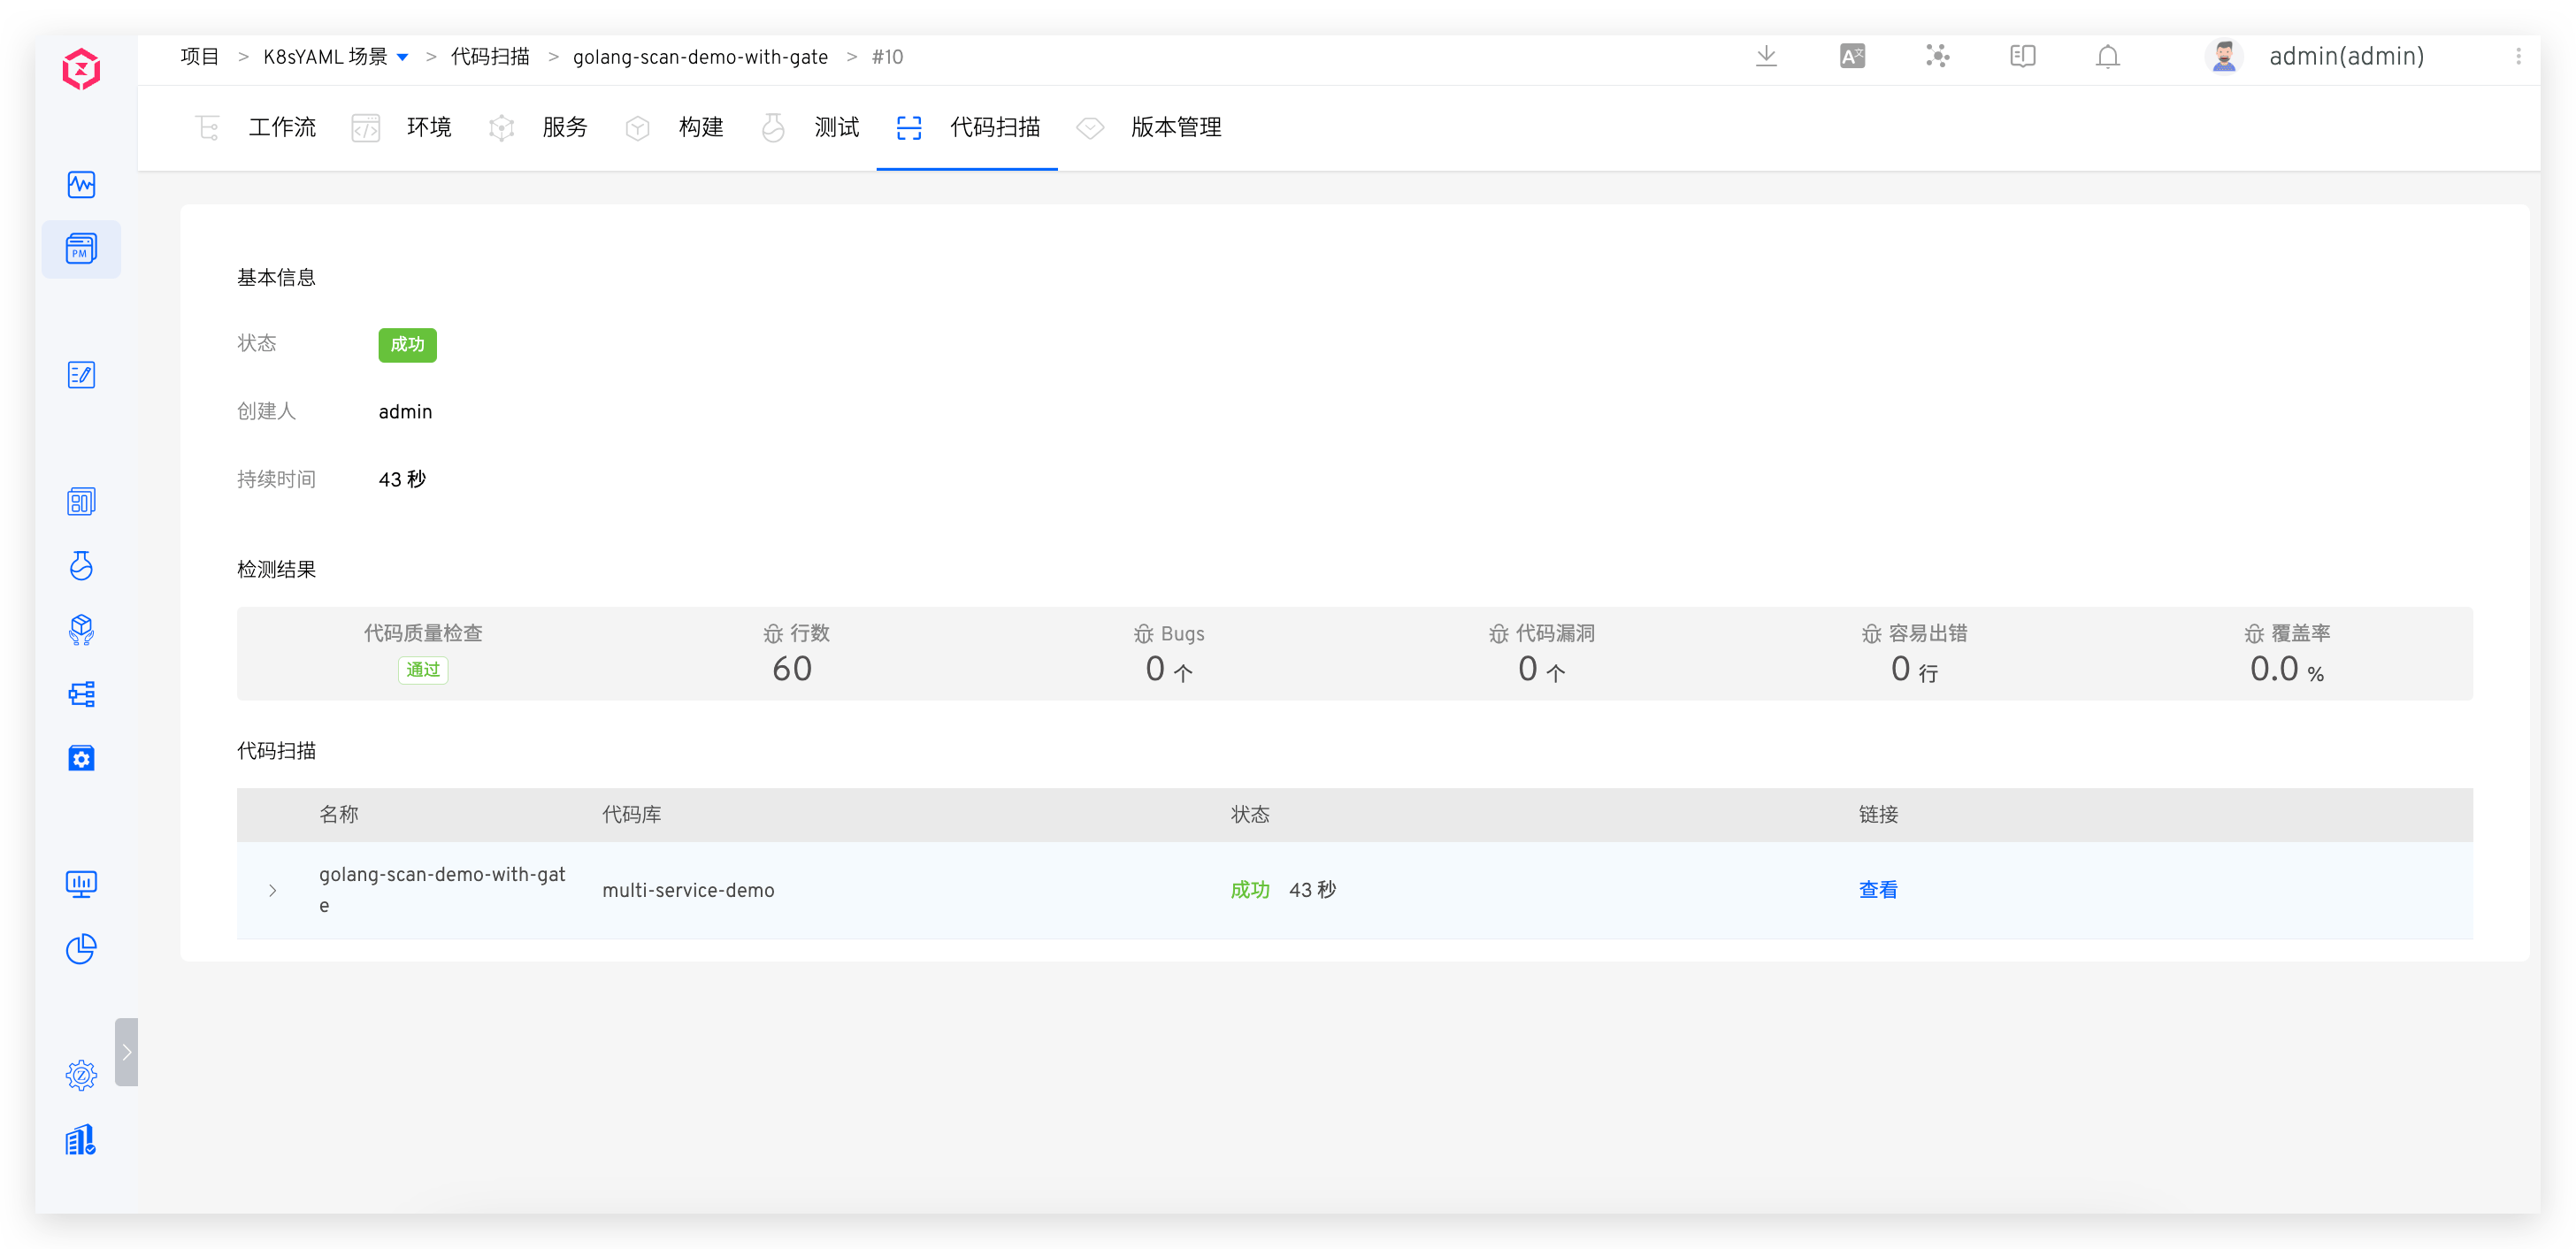
# Execute Code Scanning
Select the specific code scan → Click Run to scan the code in the specified branch or tag.
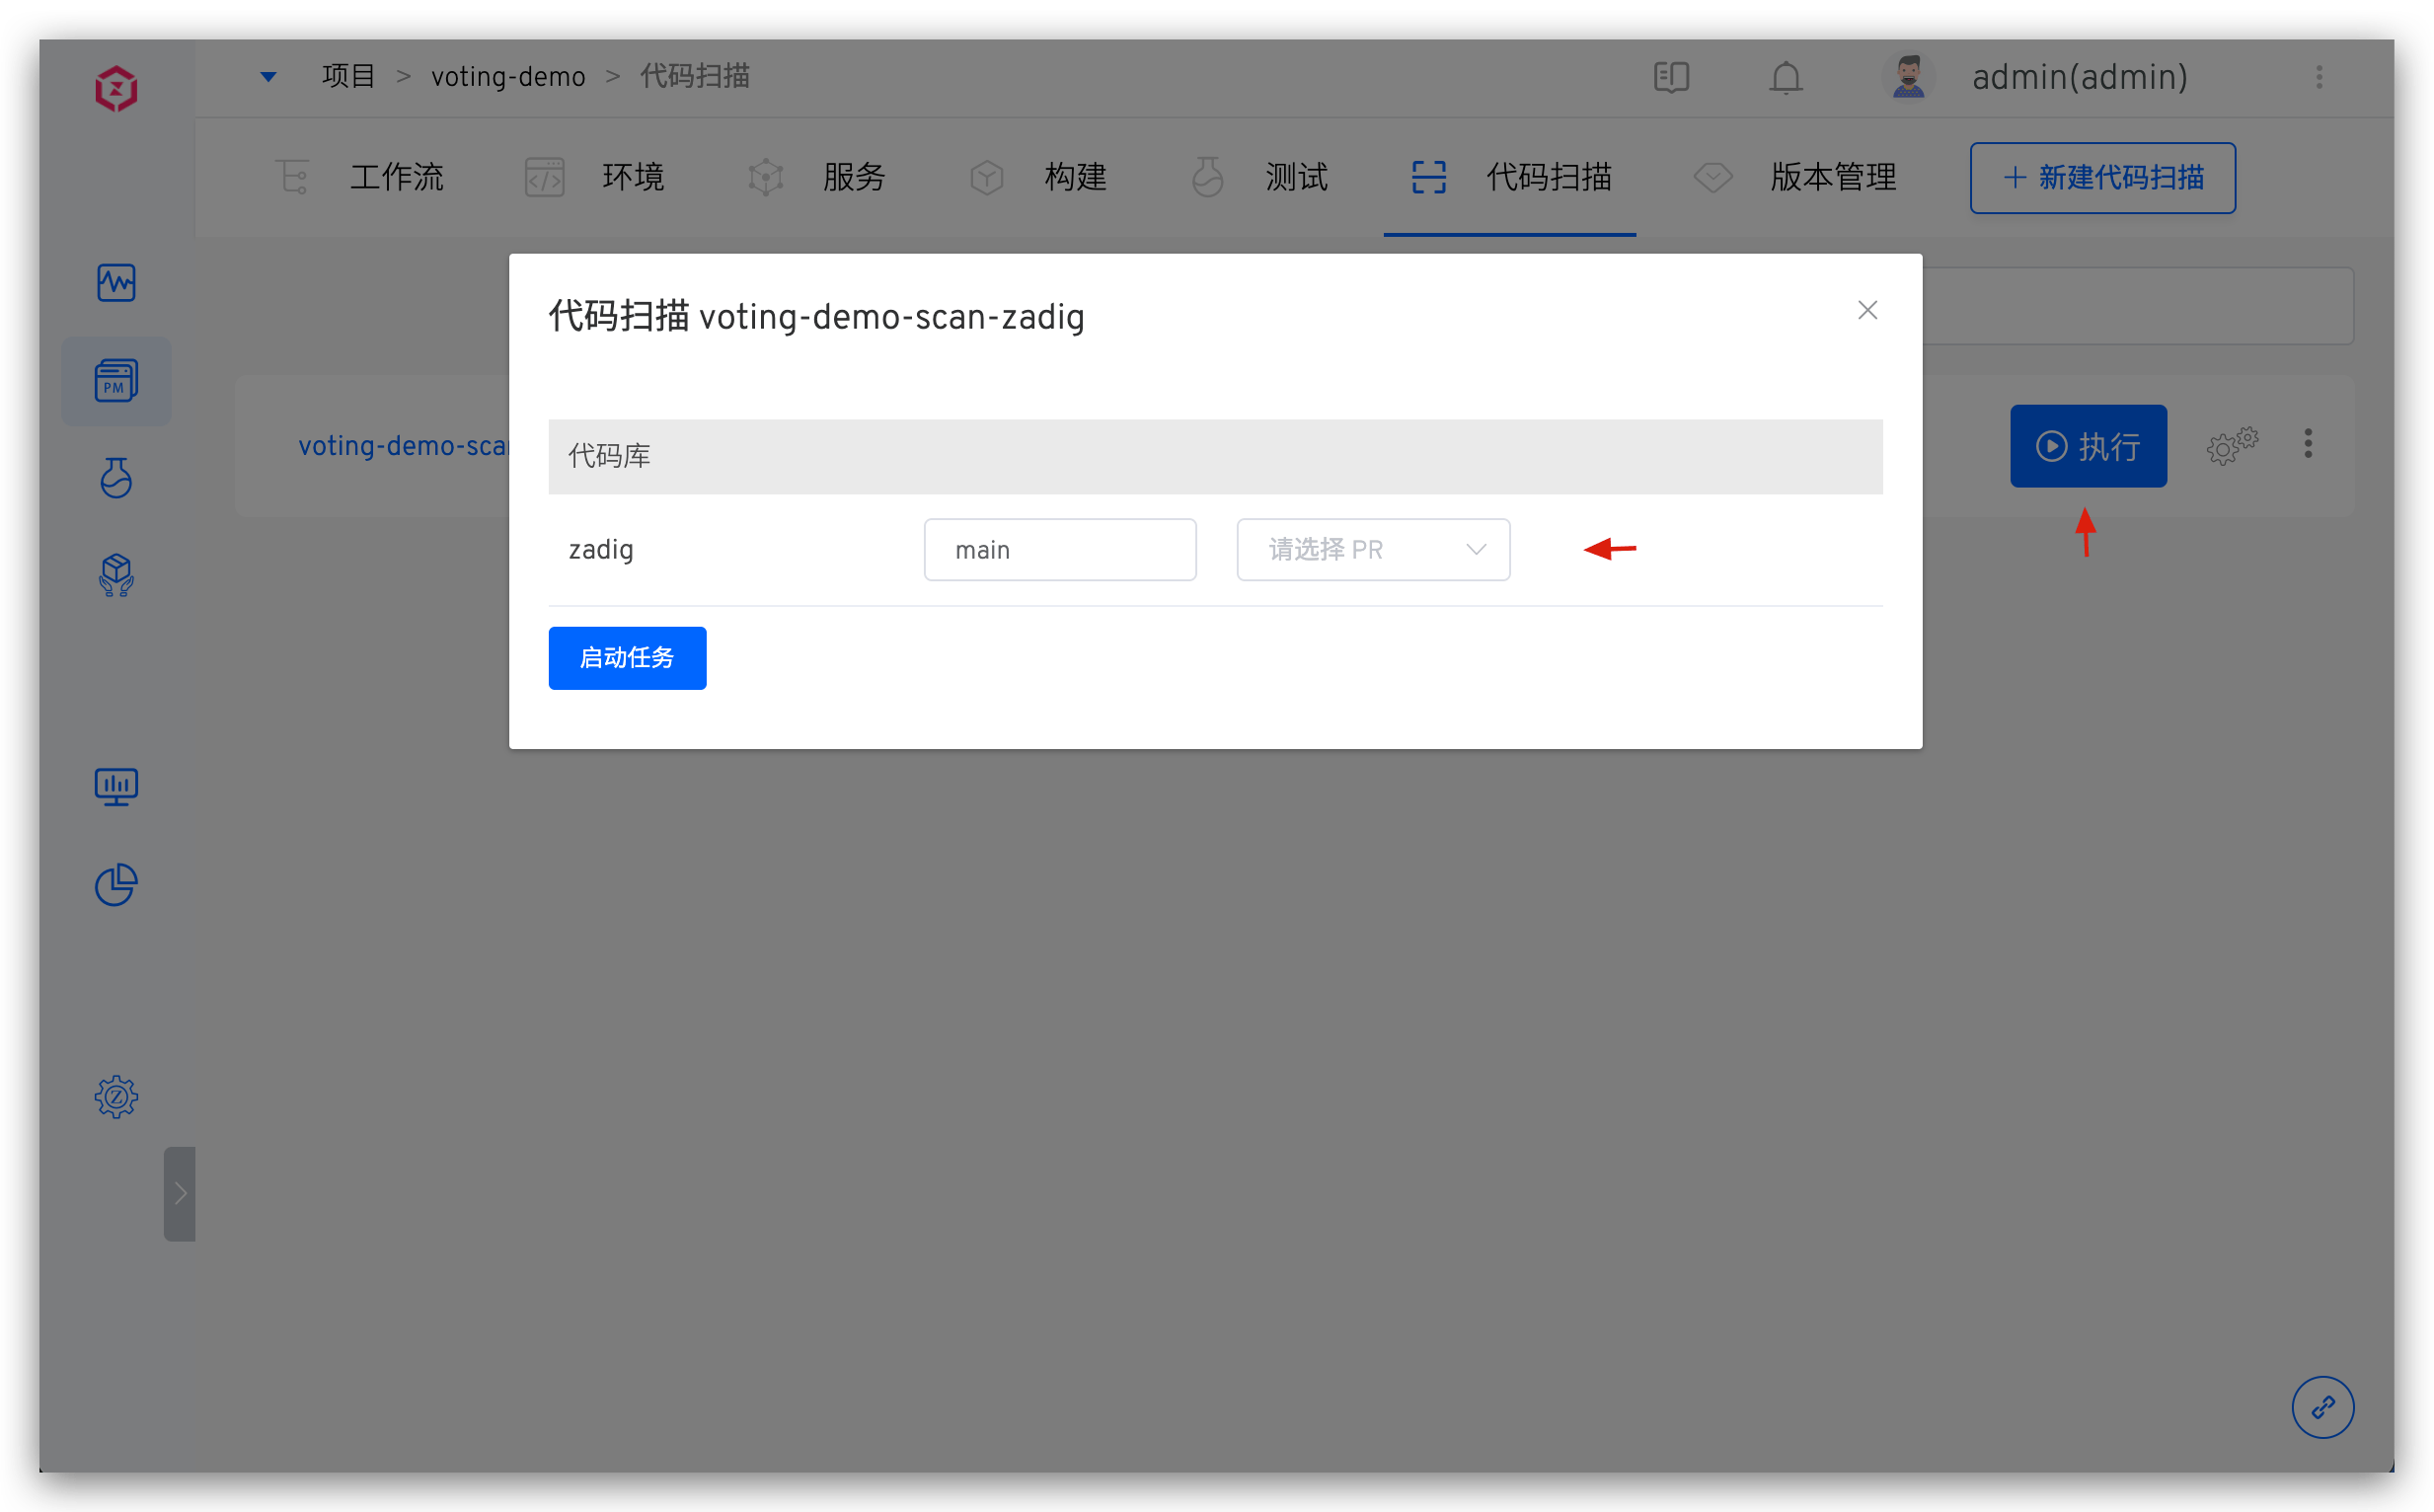
When the code scanning task is completed, you can click the link to quickly jump to the SonarQube system to view the results.
This feature is supported when using the
SonarQubetool for code scanning.
For more best practices, refer to Sonar Scanning Best Practices.
