 System Settings
This article introduces the basic functions of Zadig system configuration, including: task configuration, proxy configuration, cache cleaning, Shortcut Links, and email configuration.
# Task Configuration
System administrators can go to System Setting → System Settings → Task Configuration to configure the number of concurrent tasks and the retention policy for historical tasks.

# Task Concurrency Settings
- Workflow execution concurrency: Controls the number of concurrent workflow/test tasks.
- Workflow task concurrency: Controls the number of services that can be deployed simultaneously within a workflow.
Each workflow task requires at least 1C2G resources. When setting the number of concurrent tasks, the following relationship must be satisfied:
Workflow execution concurrency * Workflow task concurrency * 1C2G ≤ Cluster resources
For example: If the cluster resources are 8C16G, it is recommended to set the workflow execution concurrency to 2 and the workflow task concurrency to 4.
# Execution Record Retention Policy
Warning
Proceed with caution, as cleared data cannot be recovered
- Set the retention period for workflow data (including workflow tasks and the build logs, binary files, test logs, and test reports they generate). The default retention period is 365 days, and data exceeding this period will be permanently deleted.
- The system will automatically clean up data at 2:00 AM daily according to the configured rules.
# System Access
System administrators can go to System Setting → System Settings → System Access to configure the system access method.
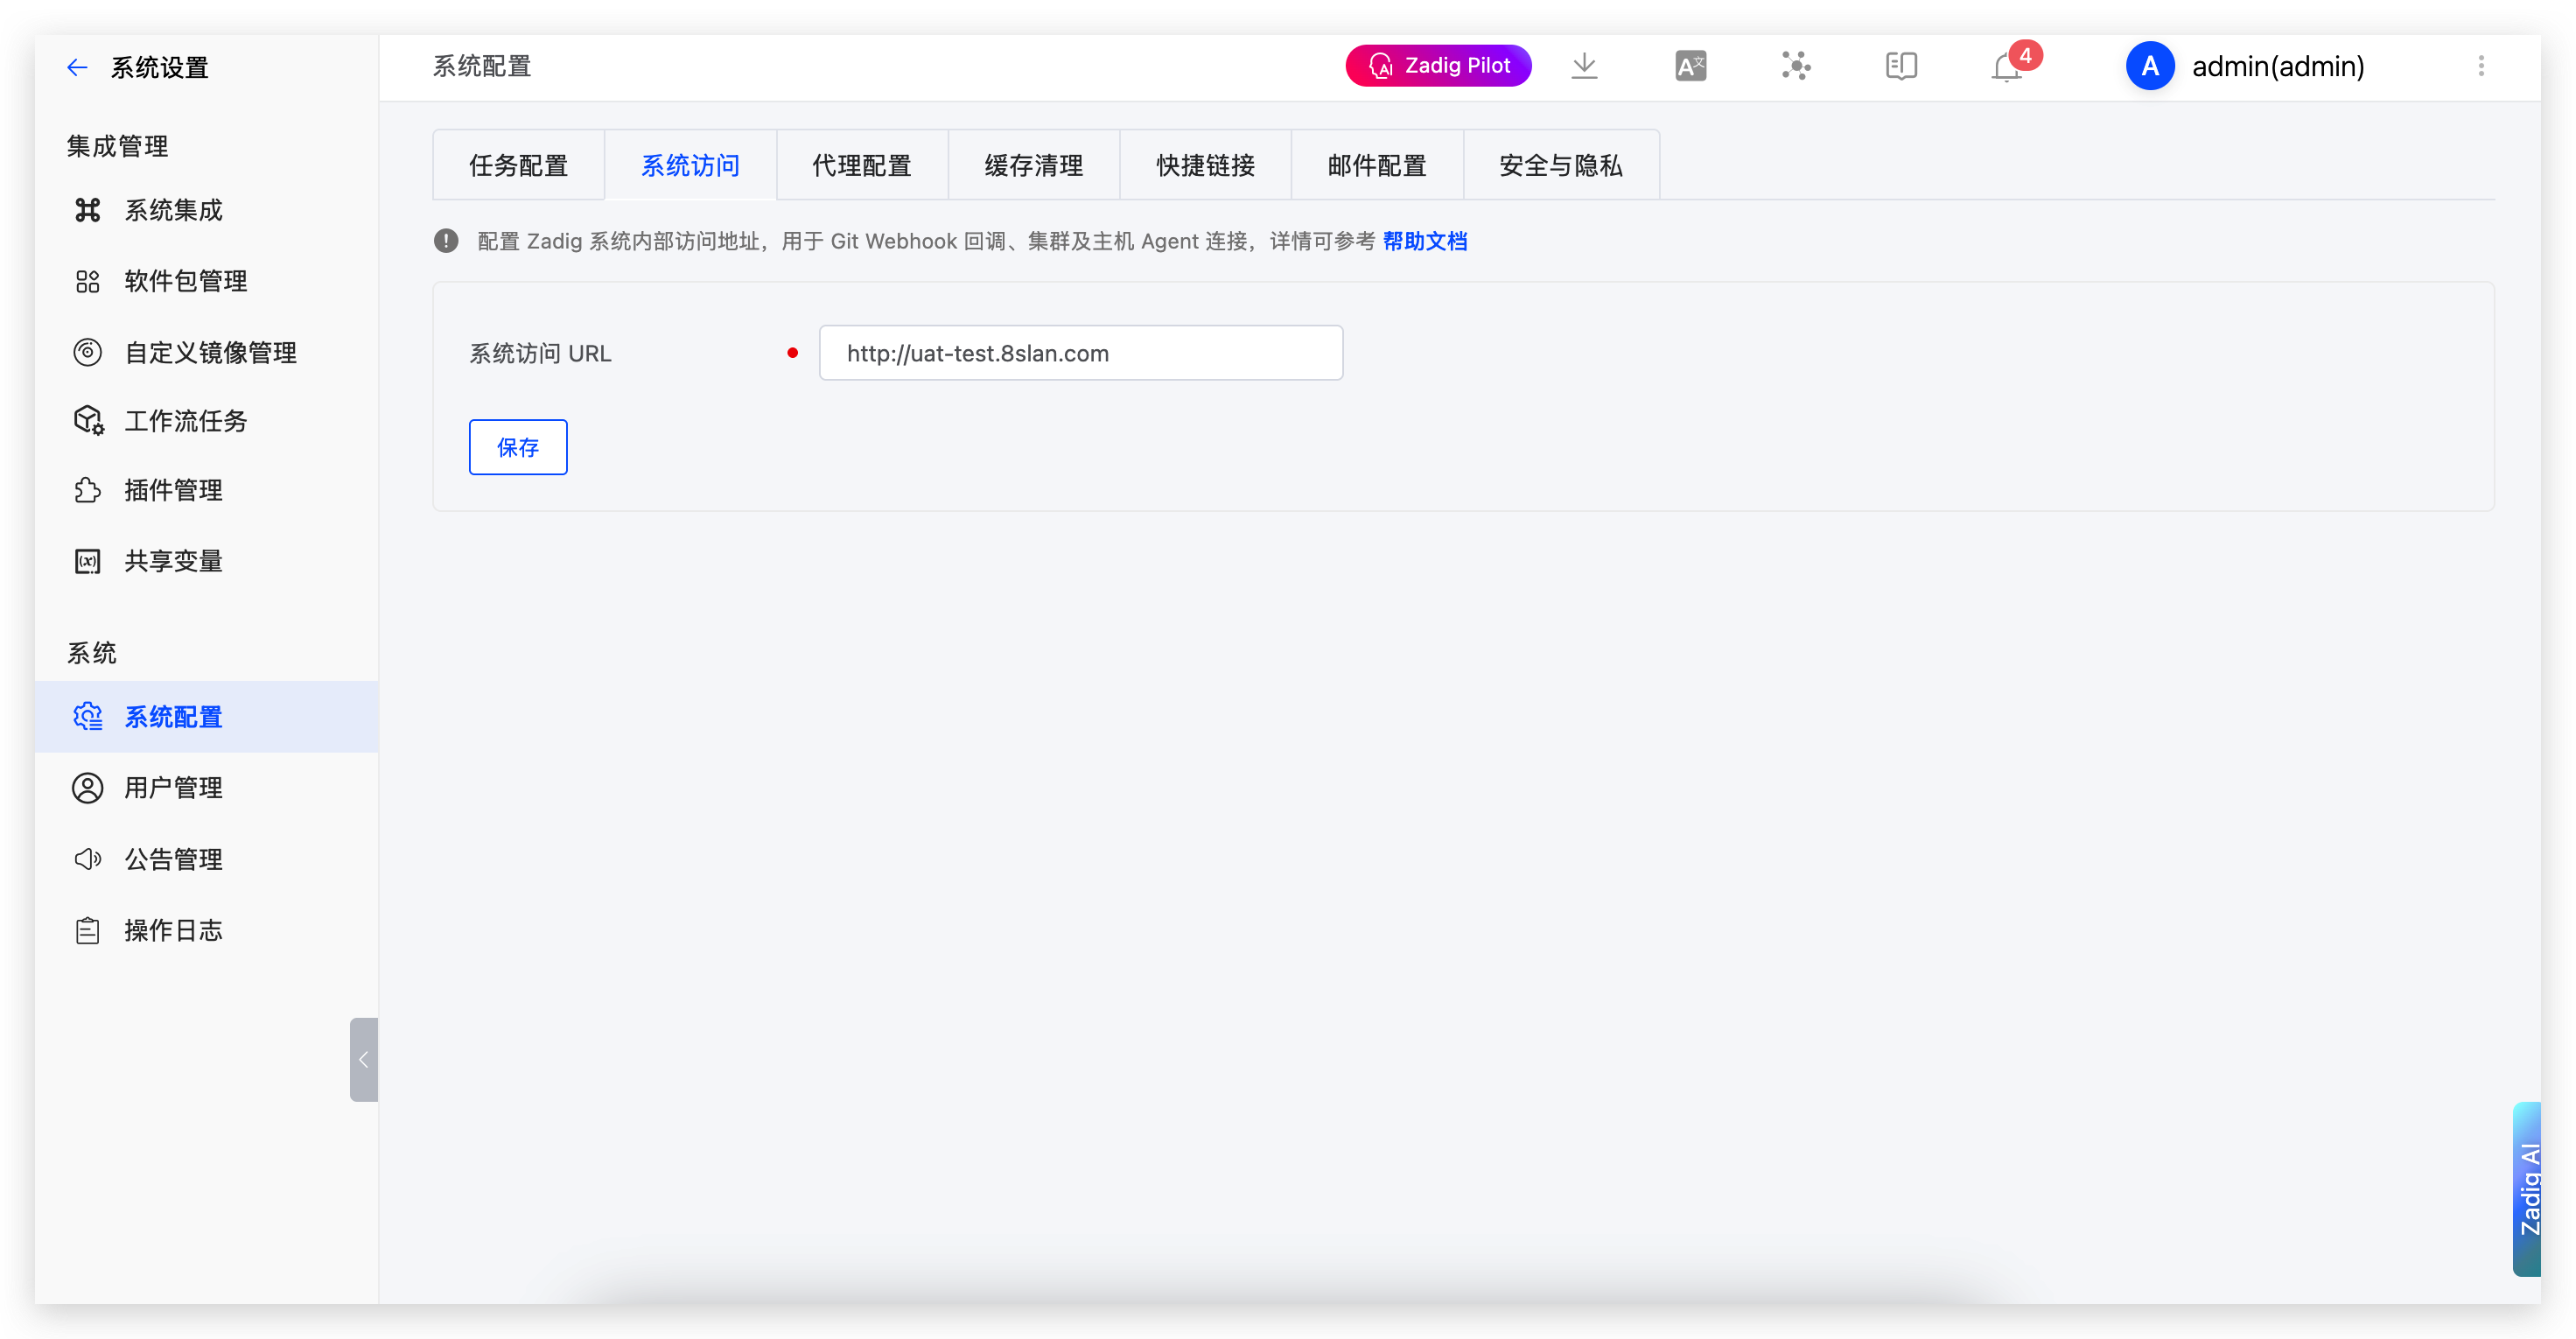
Parameter Description:
System Access URL: Configure the internal access address of the Zadig system, used for Git Webhook callback, cluster and host Agent connections.
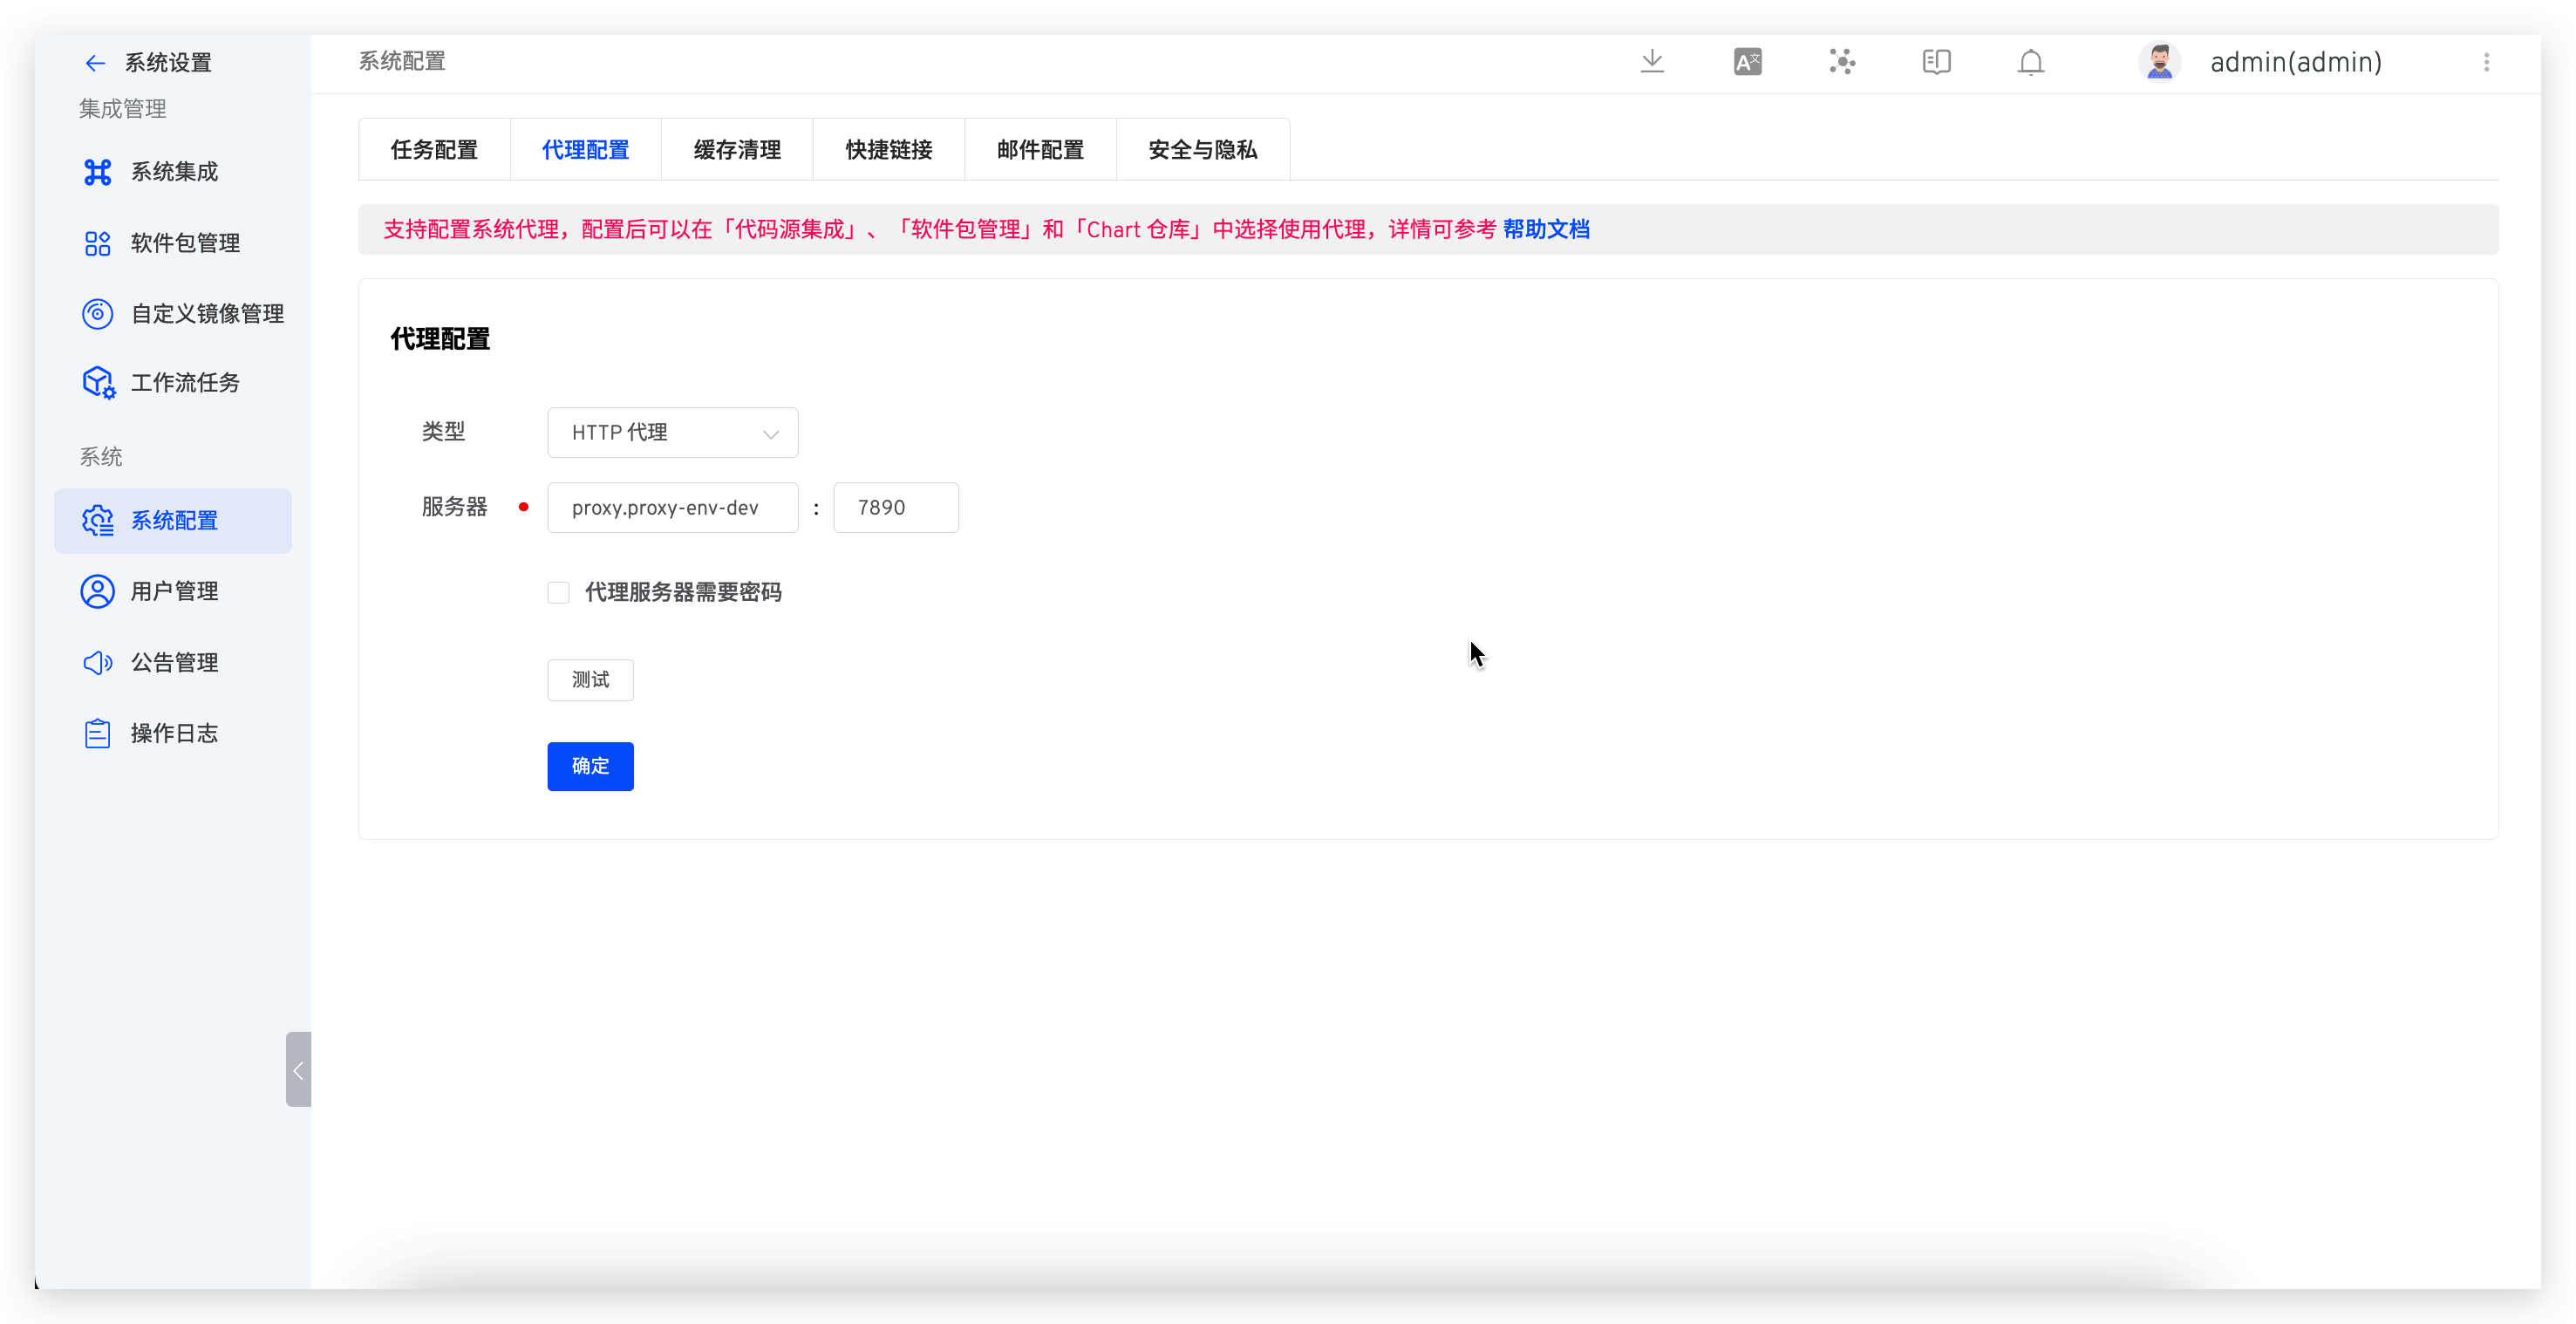
# Proxy Configuration
The Zadig system supports the use of proxies. System administrators can go to System Setting → System Settings → Proxy Configuration to configure the proxy settings as shown in the figure below.
Warning
Only configuring the proxy without enabling it in specific modules will not make the proxy effective
Currently, proxies can be used when executing build tasks. The specific settings are as follows:
- When pulling code, the proxy must be enabled in
System Settings→Integrations→Git Provider - When pulling installation packages, the proxy must be enabled in
System Settings→Packages - When pulling Chart packages, the proxy must be enabled in
Resourcing→Chart Repository
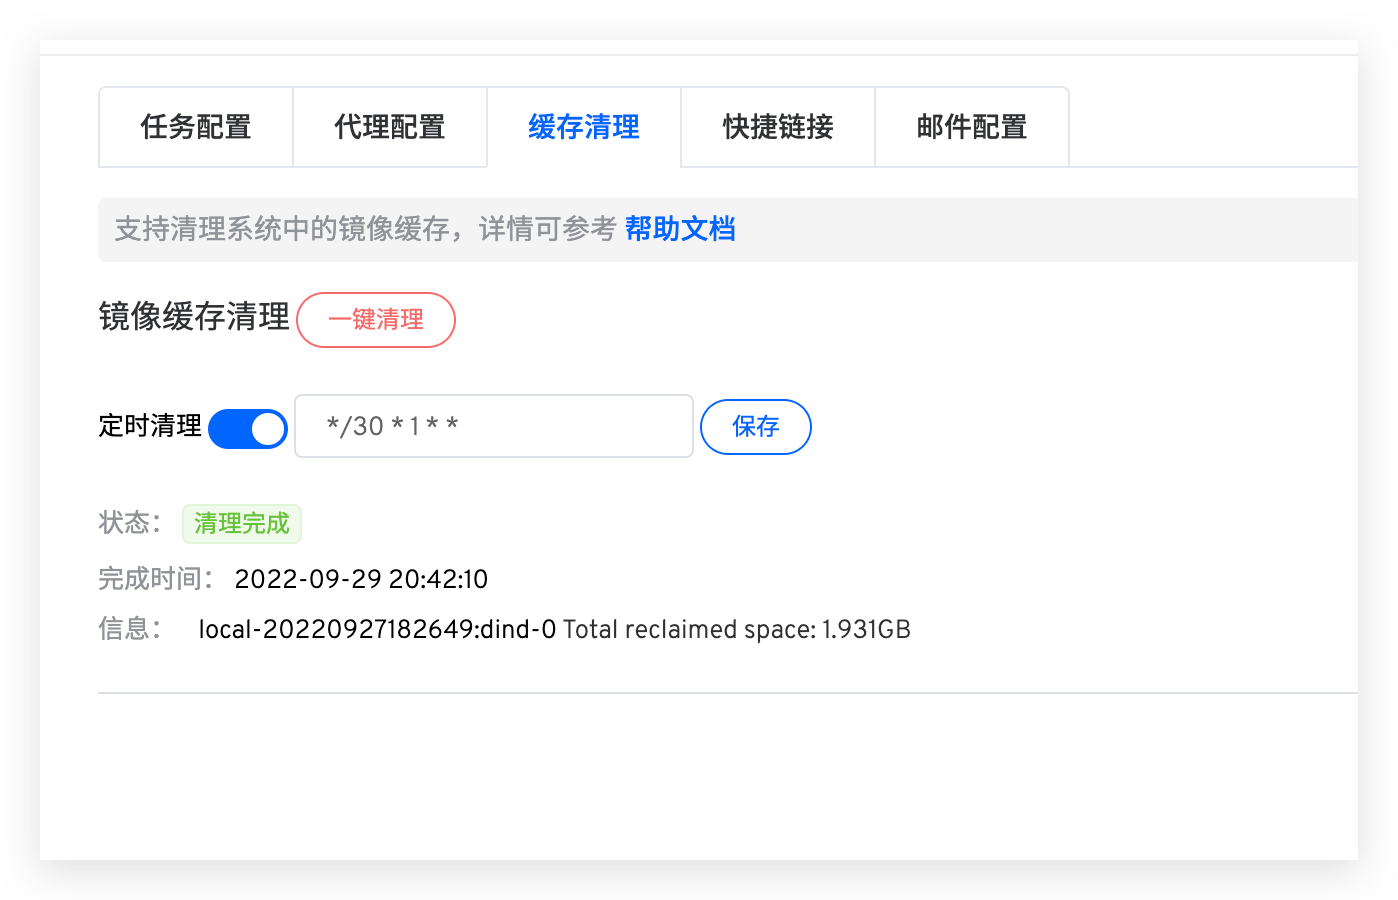
# Cache Cleaning
System administrators can go to System Setting → System Settings → Cache Cleaning to clean up component caches in the system, including stopped containers, all unused networks, unused images, and Build Cache Image.
One-click Clean: After this operation, the cache will be cleaned immediatelyScheduled Clean: The system will parse the Cron expression according toMinutes Hours Date Month Weekand clean the cache at the specified intervals. The figure below represents a cleanup every 30 minutes on the 1st of each month
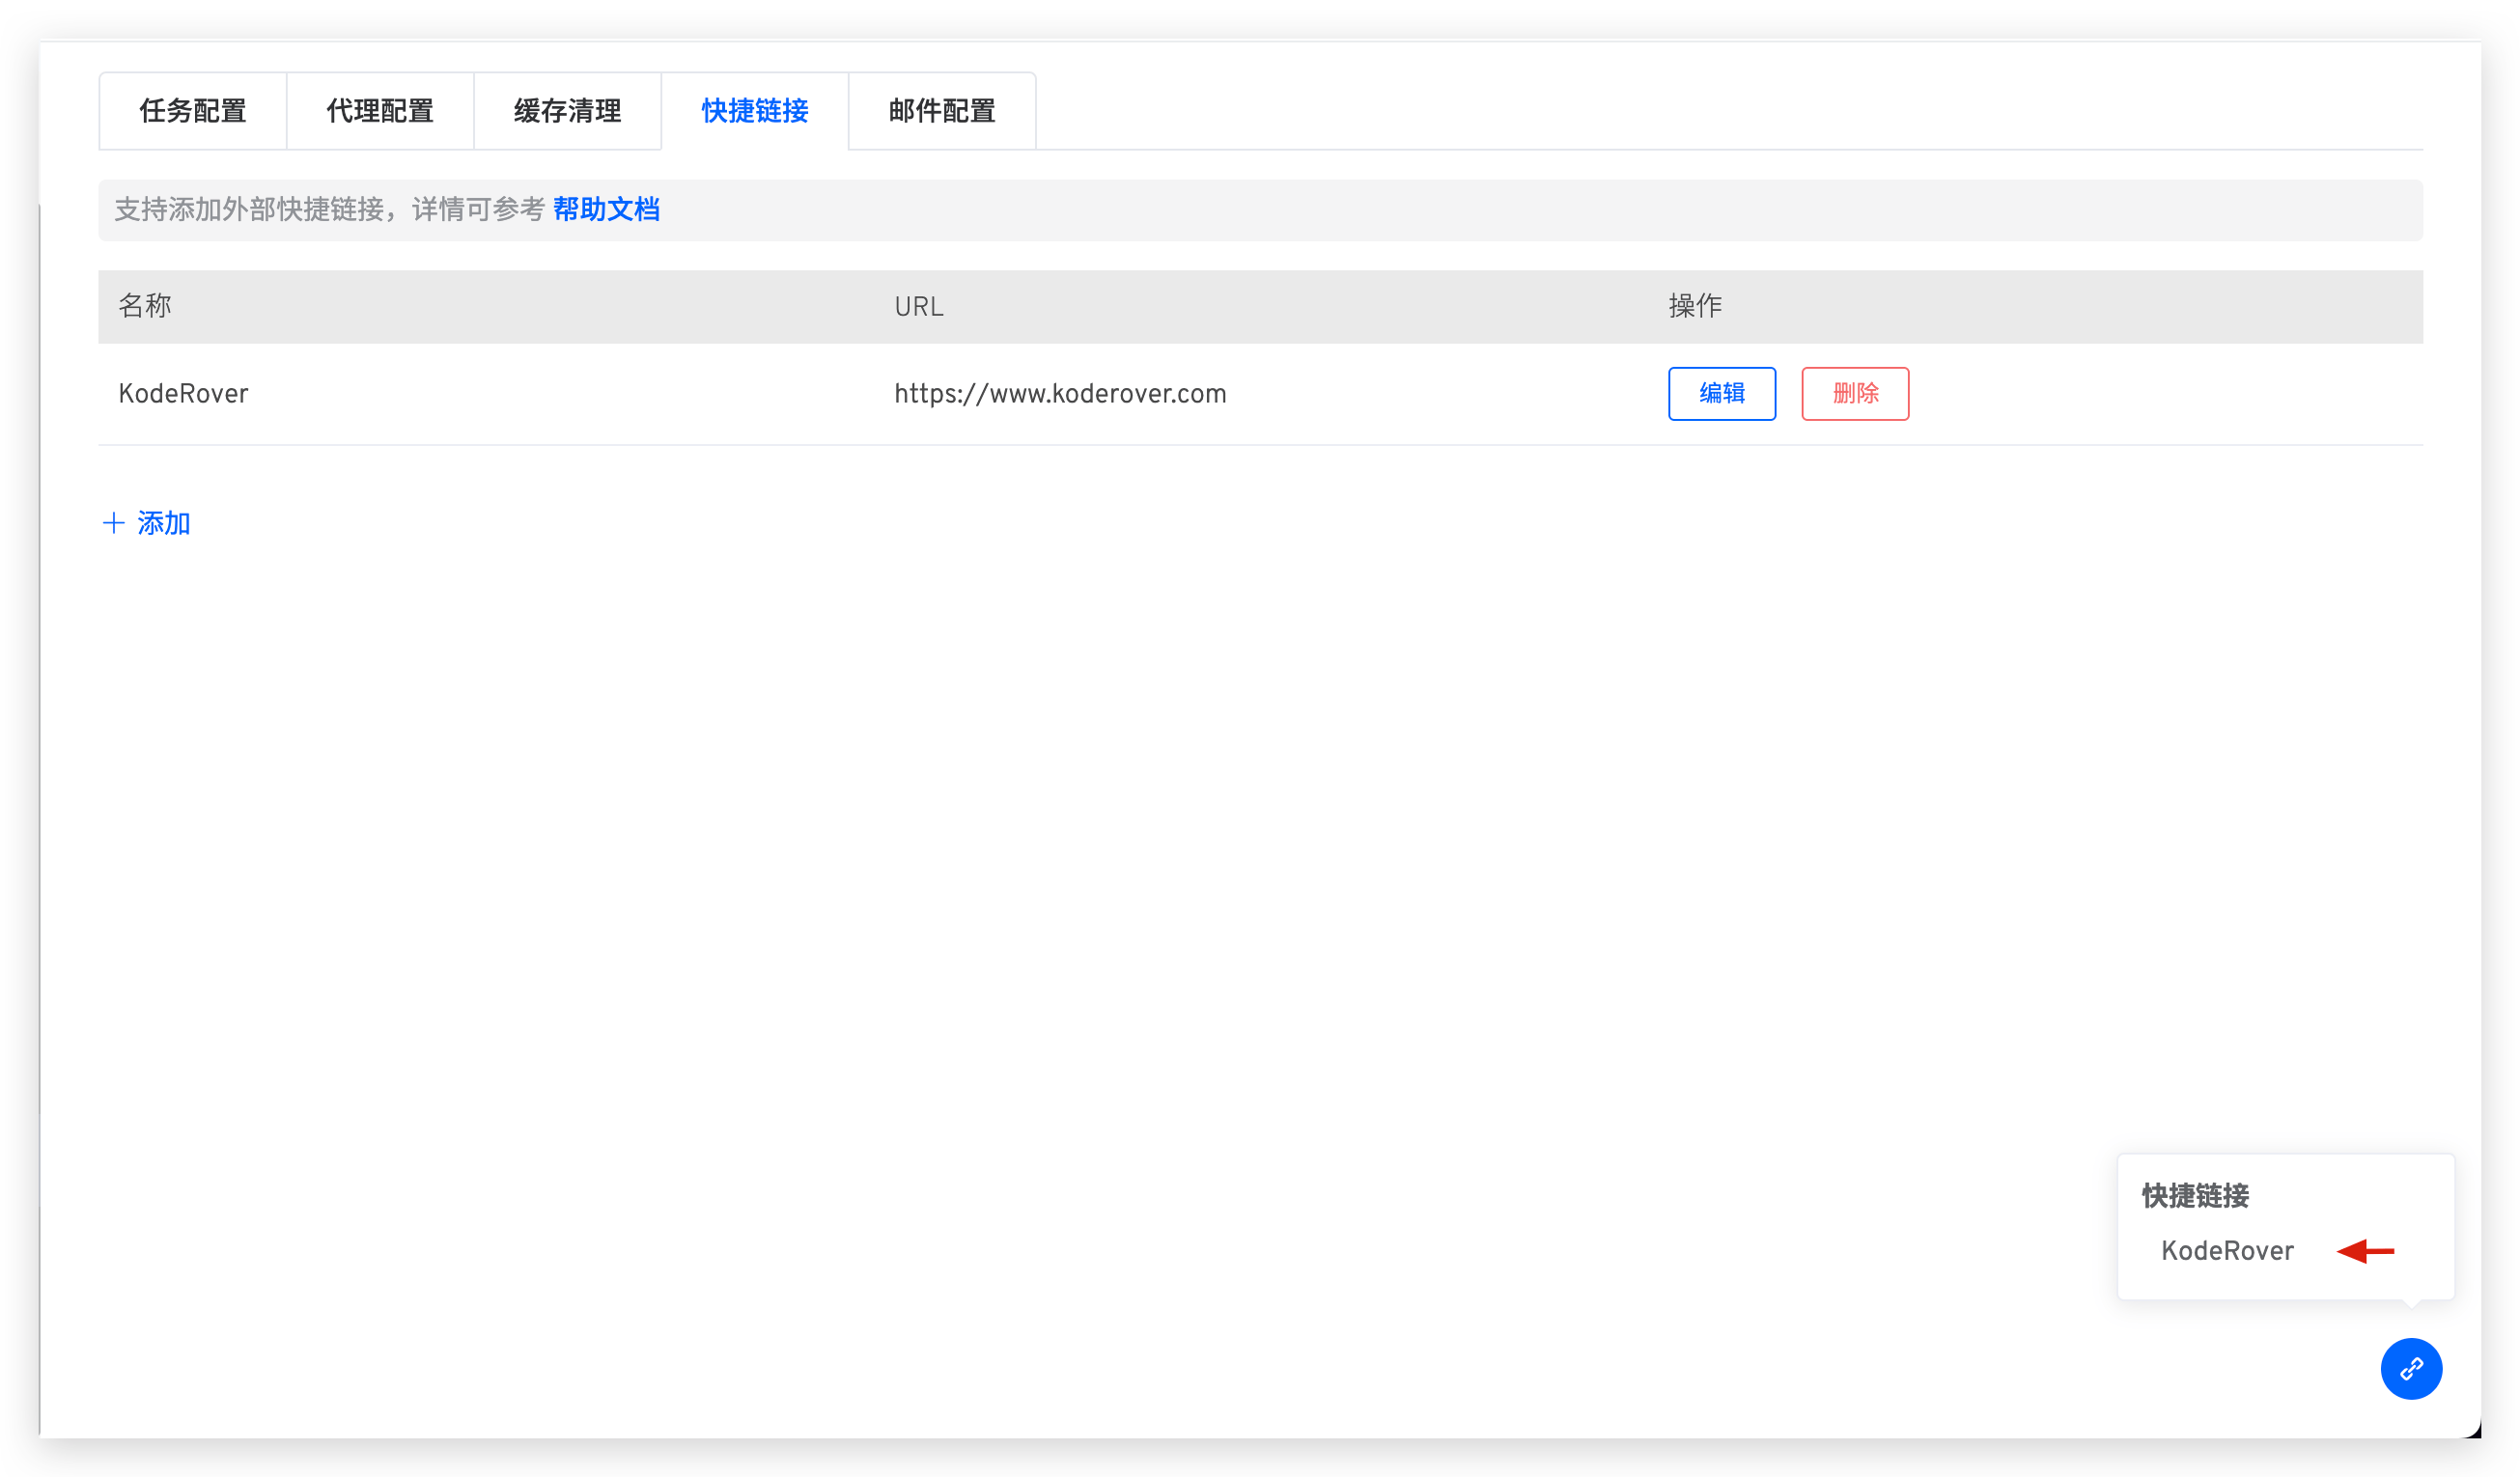
# Shortcut Links
System administrators can go to System Settings → System Settings → Shortcut Links to add common external links, making it convenient for users to access them quickly.
# Mail Configuration
System administrators can go to System Settings → System Configuration → Mail Configuration and click Add to define mail configurations.
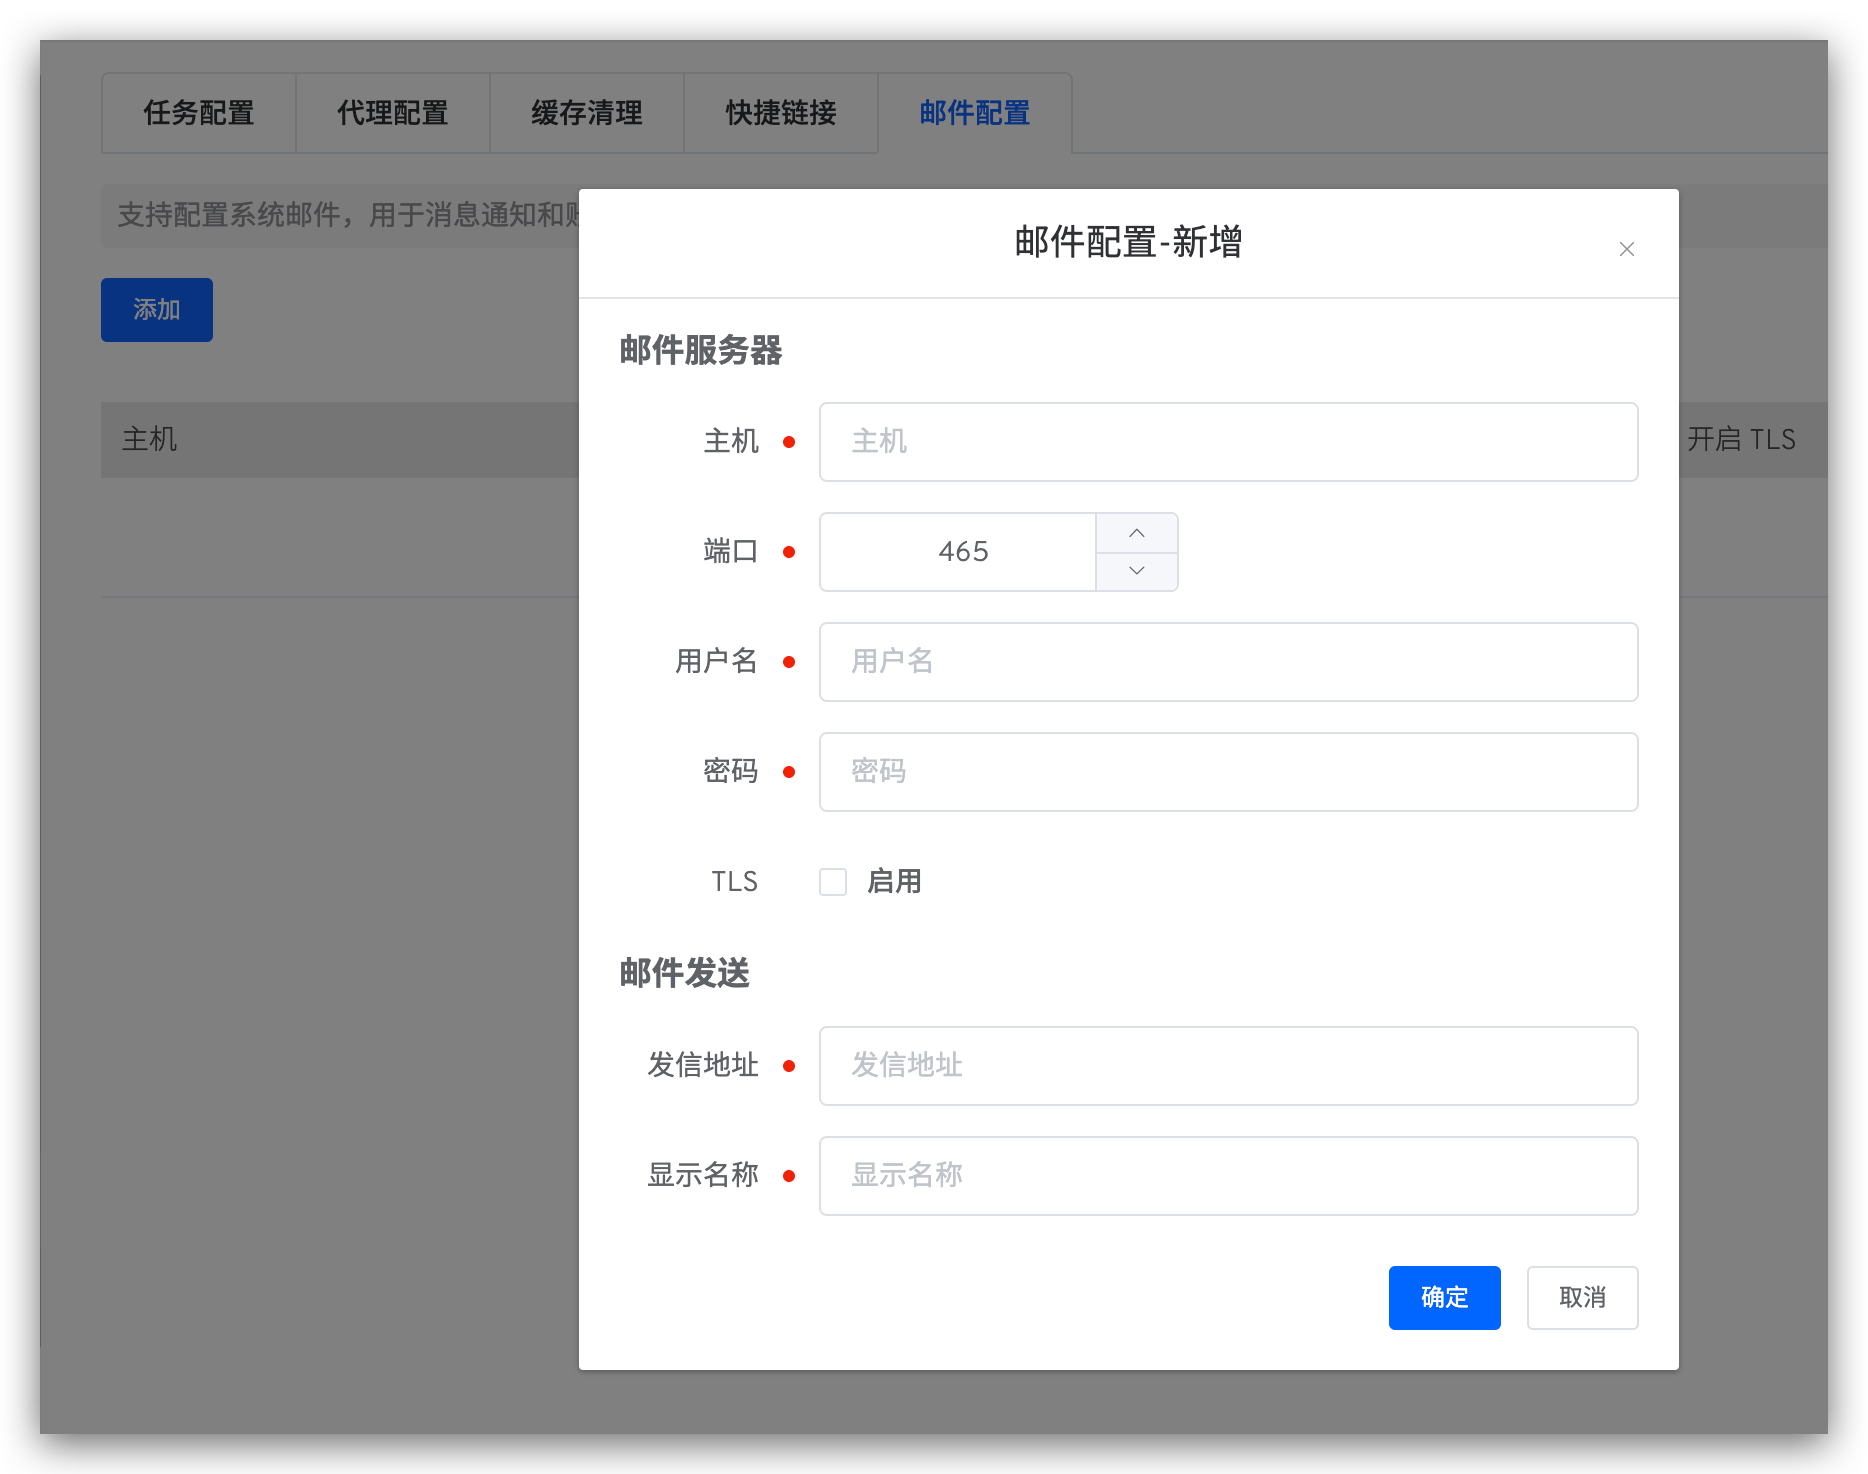
Host Information Parameter Description:
Host: The address of the mail server, for example:smtp.example.163.comPort: The port number of the mail server, default is465Username: The username for the email client, which can be obtained from the email service providerPassword: The password for the email client, which can be obtained from the email service providerTLS: Whether to enable the TLS security protocol
Mail Sending Settings Parameter Description:
Sender Address: The email address for sending emails, for example:no-reply@koderover.comDisplay Name: The name displayed in the email, for example:no-reply
