 O&M Tools
This guide is for enterprises that have purchased Zadig products and services, describing how to use the official O&M tool for installation and upgrade. Official support is recommended. The tool supports remote upgrade, rollback, and diagnostics, making enterprise deployment efficient. Below are resource requirements and operation steps.
# Resource Preparation
- Kubernetes cluster, version v1.16+, recommended 2 nodes 8C16G, admin privileges
- A machine with kubectl(opens new window) installed and network access to the cluster
- Network:
- For IP+Port access, cluster nodes must have external IPs
- For domain access, prepare a valid domain
- Database:
- Highly available MongoDB (v4.4+)
- Highly available MySQL (v5.7+)
Tip
- Some cluster network plugins may prevent Service backend Pods from self-access; please verify in advance
- Configure kube-dns to ensure name-based addressing between services and Pods
# Install the Official O&M Tool
# Preparation
- A machine that can connect to the K8s cluster
- kubectl(opens new window) installed with admin privileges
# Installation
Run the following command to install the customer console:
curl -sS https://admin.8slan.com/api/plutus/customer/installer/install_plutus_customer.sh | bash
Successful installation output:
...
plutus customer installation complete
visit {Access Address} to access plutus customer
use password: {Password} to login to plutus
plutus customer installation completed in 36 seconds
2
3
4
5
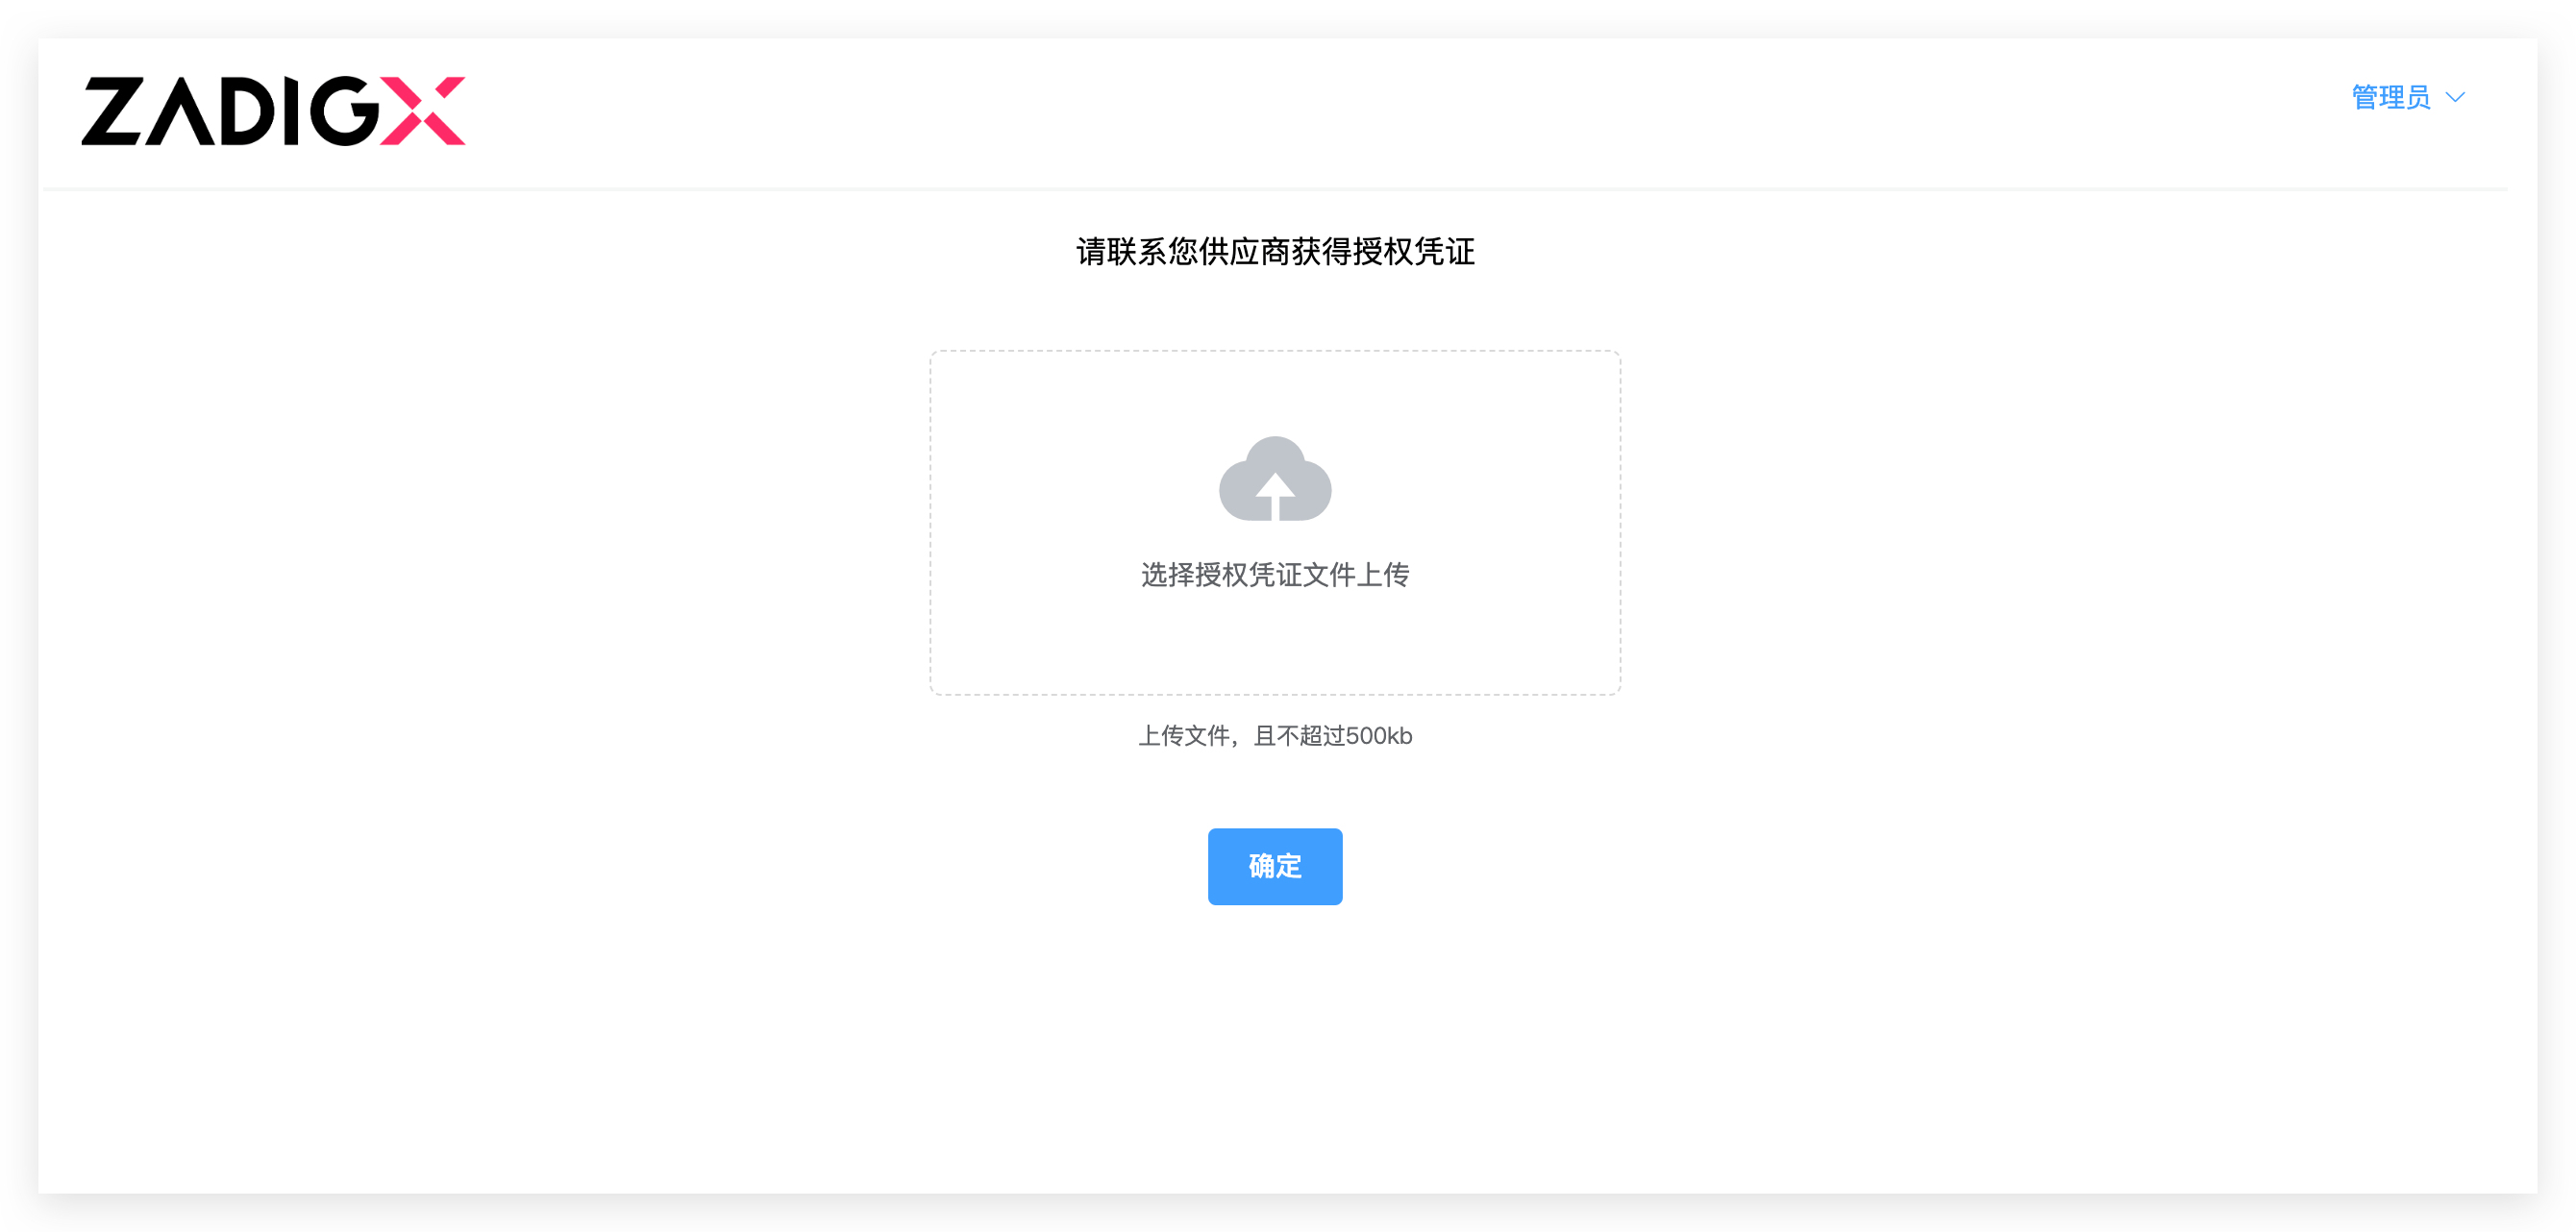
# Configure Authorization Credentials
Tip
If login fails immediately after installation, the system may be initializing. Please wait a moment.
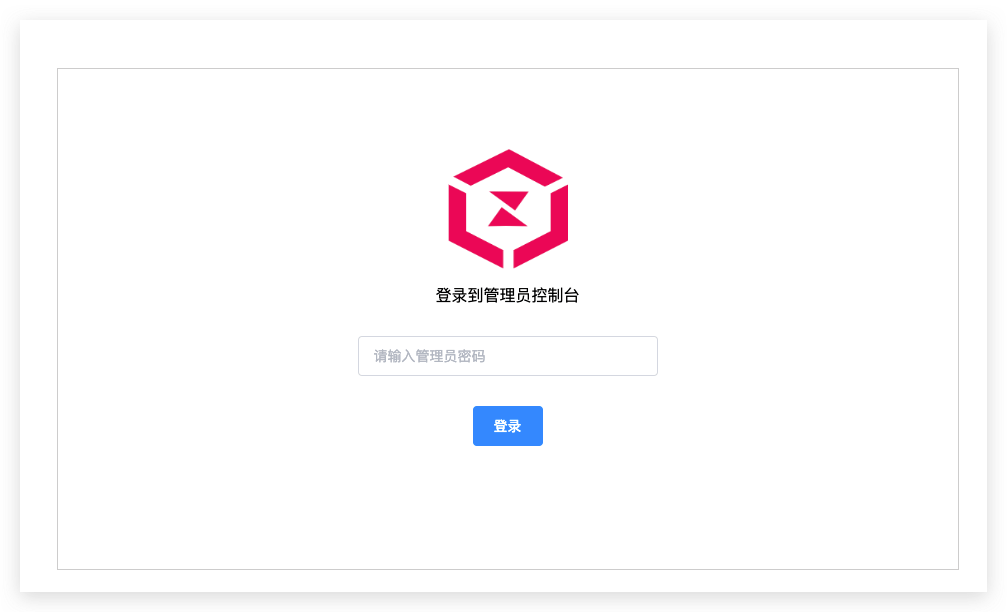
Log in to the customer console with the access address and password output from the successful installation and initialize it with the authorization credentials.
# [Recommended] Official Installation Support
Enable "Supplier Maintenance Configuration" to allow Zadig official remote installation assistance.
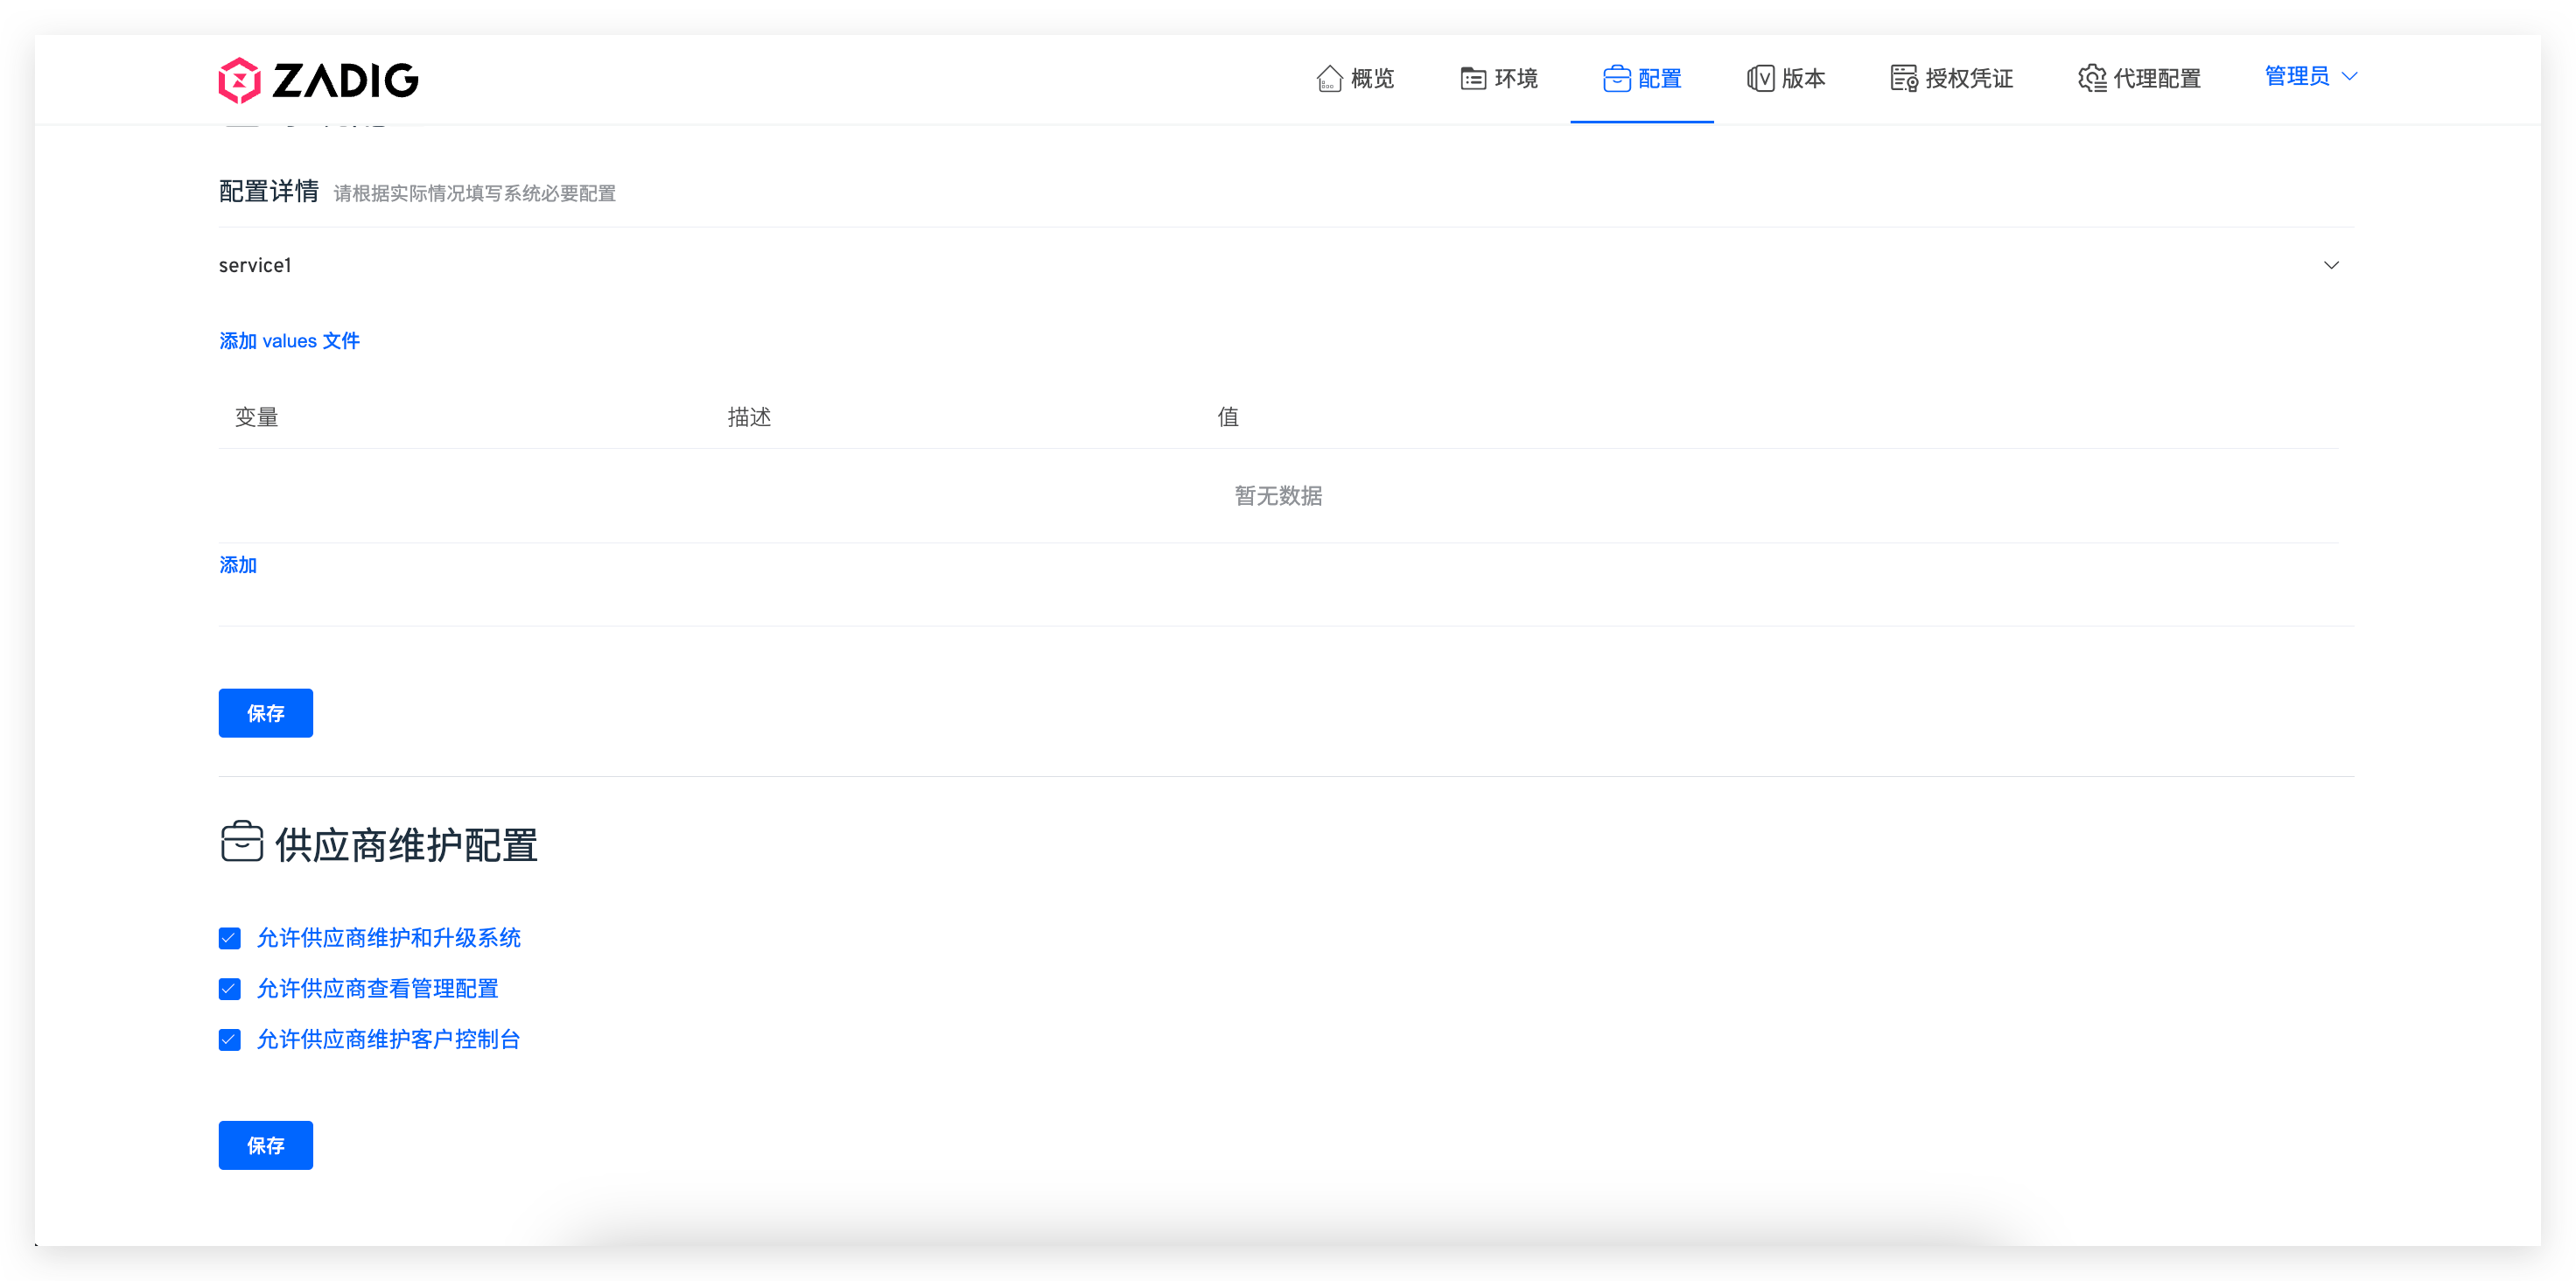
Check and save to enable.
# Install Zadig
# Step 1: Select Version
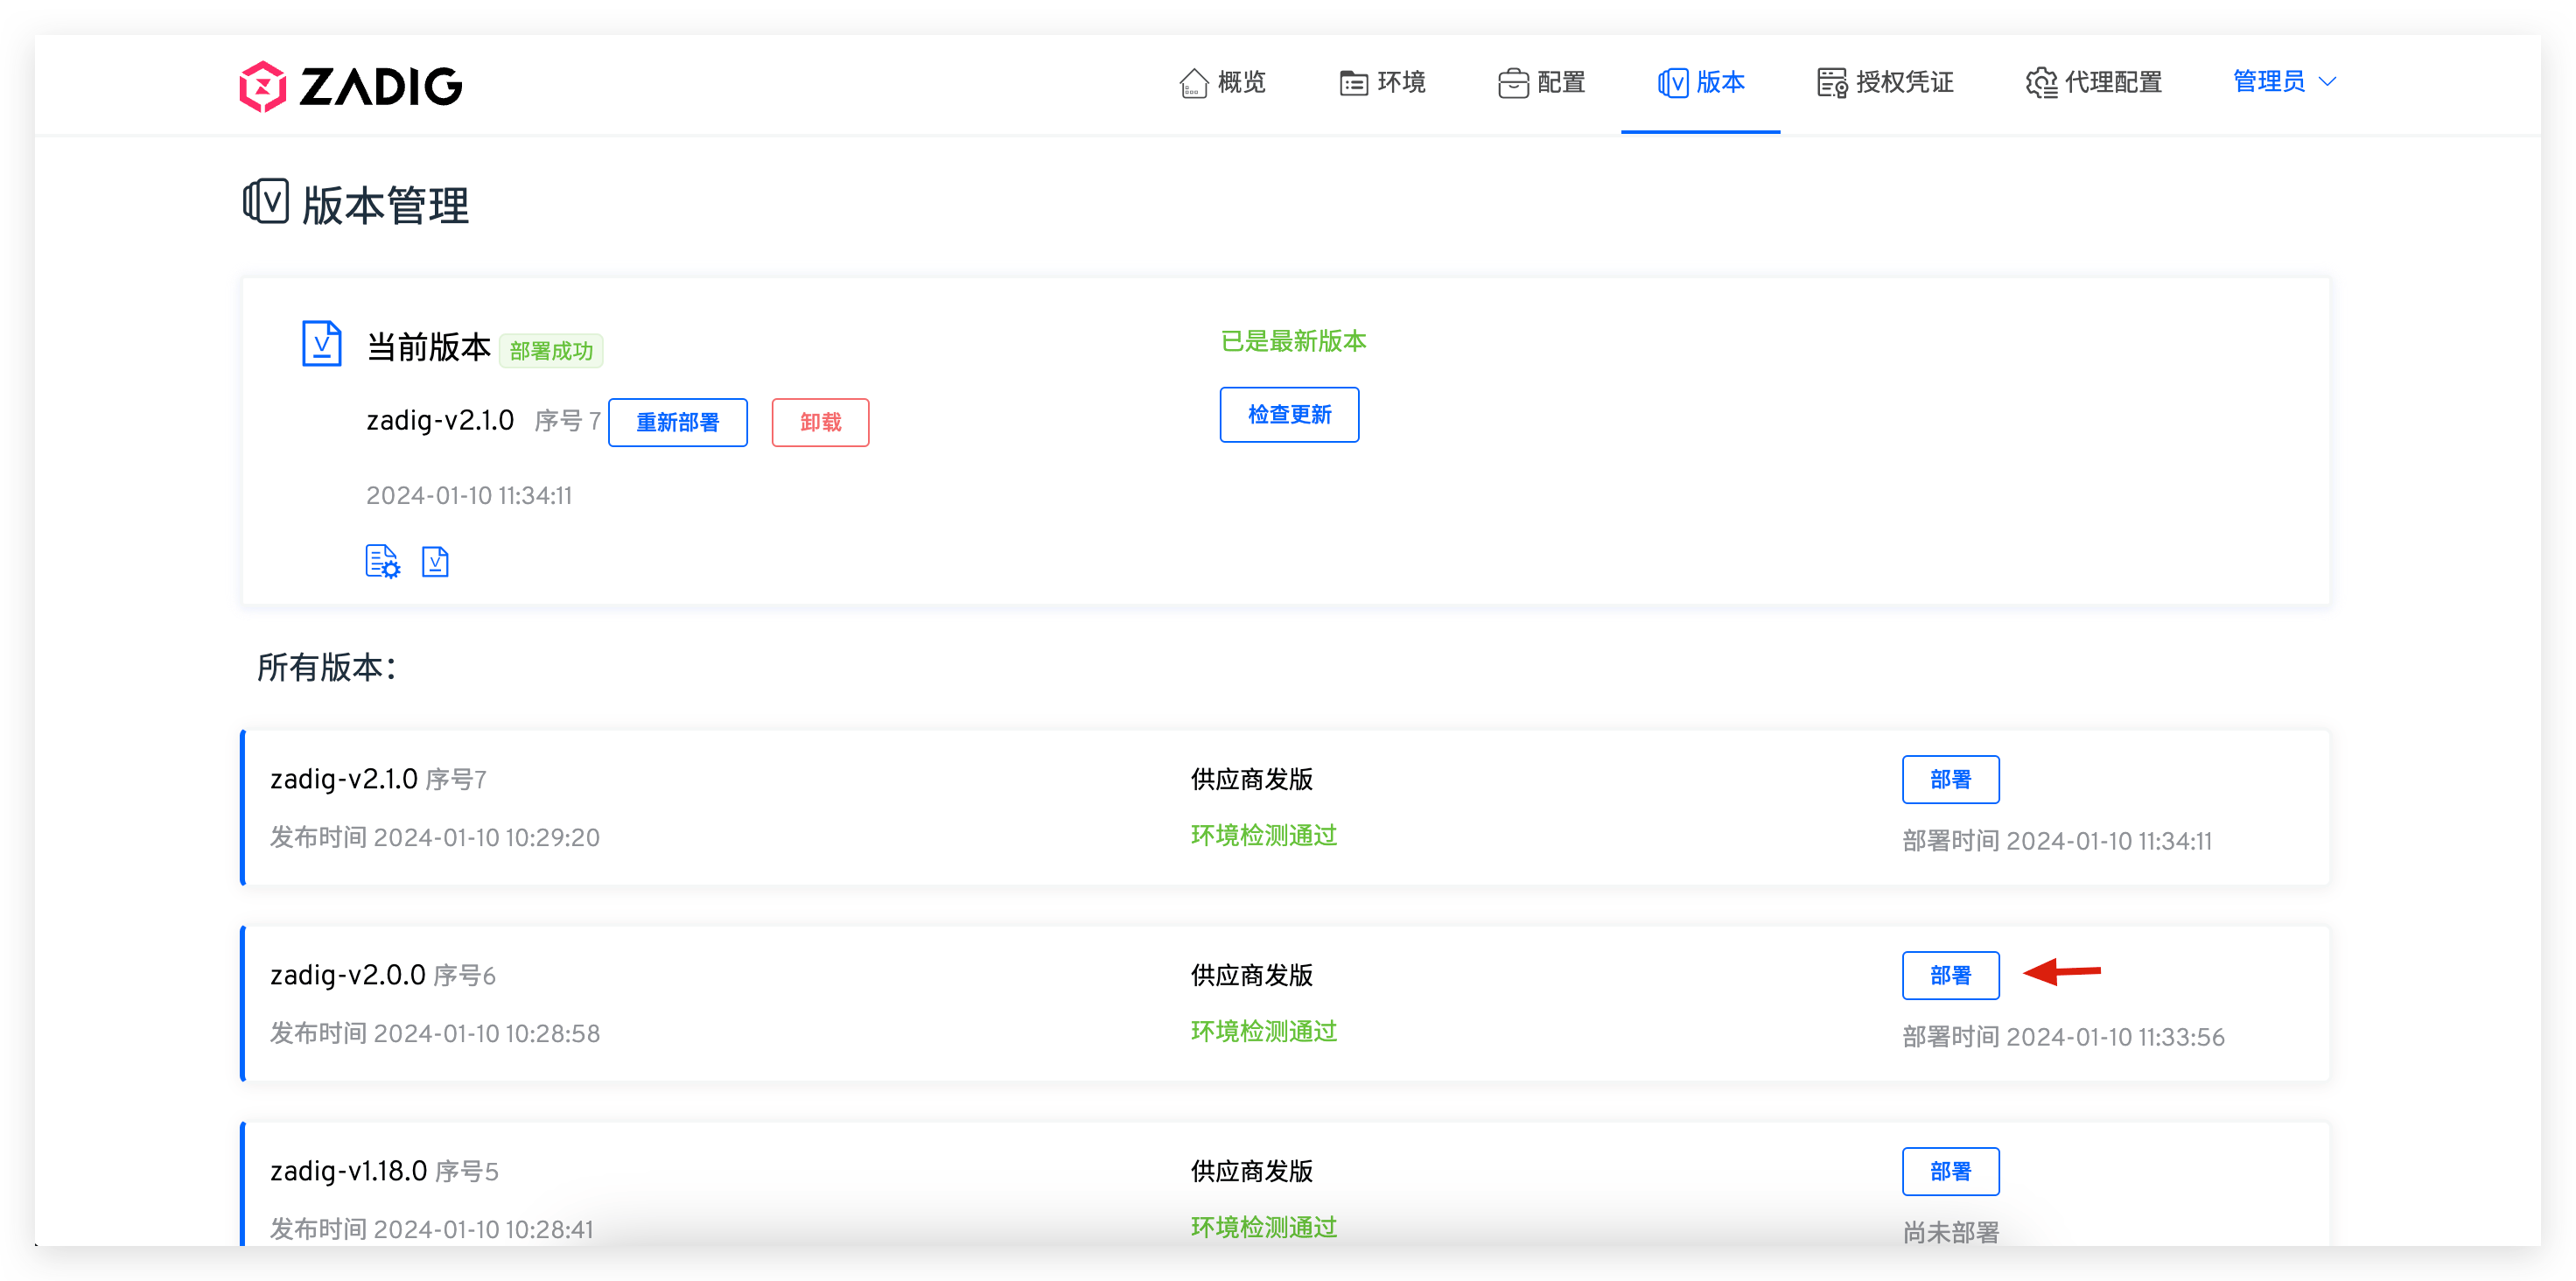
Customer console > Version, click Find New Version, select the desired version, then click Deploy to configure parameters.
Tip
- If you forget the console password, retrieve it with:
kubectl get cm plutus-customer-config -n {console namespace} -o=jsonpath='{.data.PLUTUS_PASSWORD}' - If you forget the port for IP+Port access, check with:
kubectl get svc plutus-customer-portal -n {console namespace}

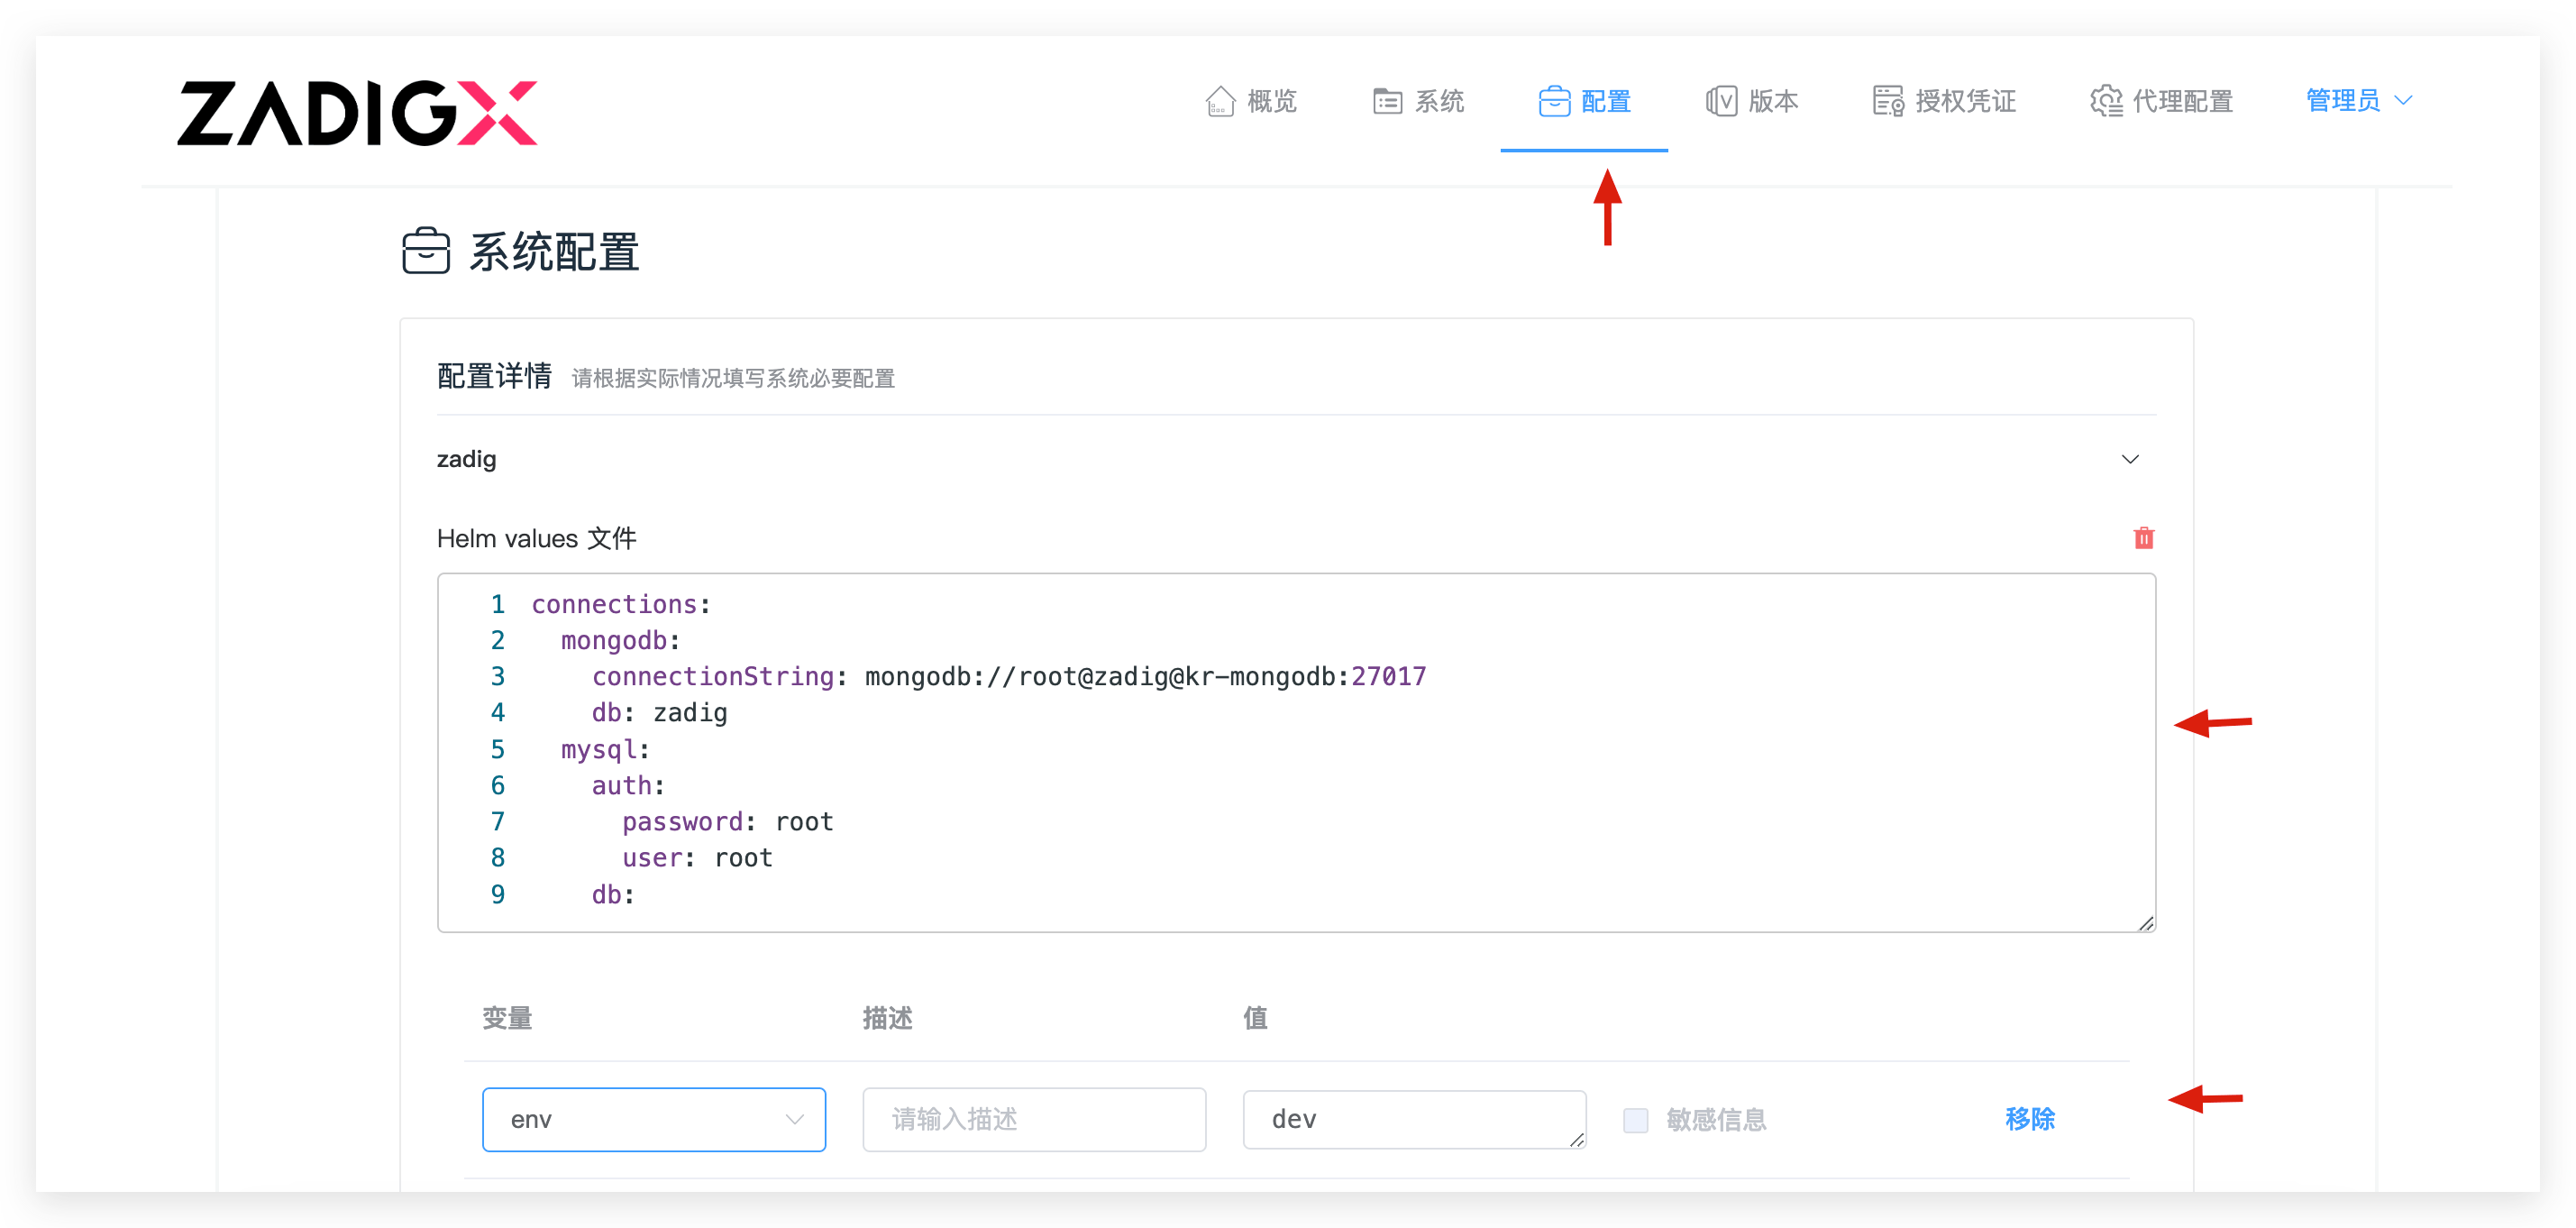
# Step 2: Configure Parameters
Set parameters and click Deploy.
Installation time depends on hardware and network. Use
kubectl -n {Namespace} get podto check service status;Successmeans complete.
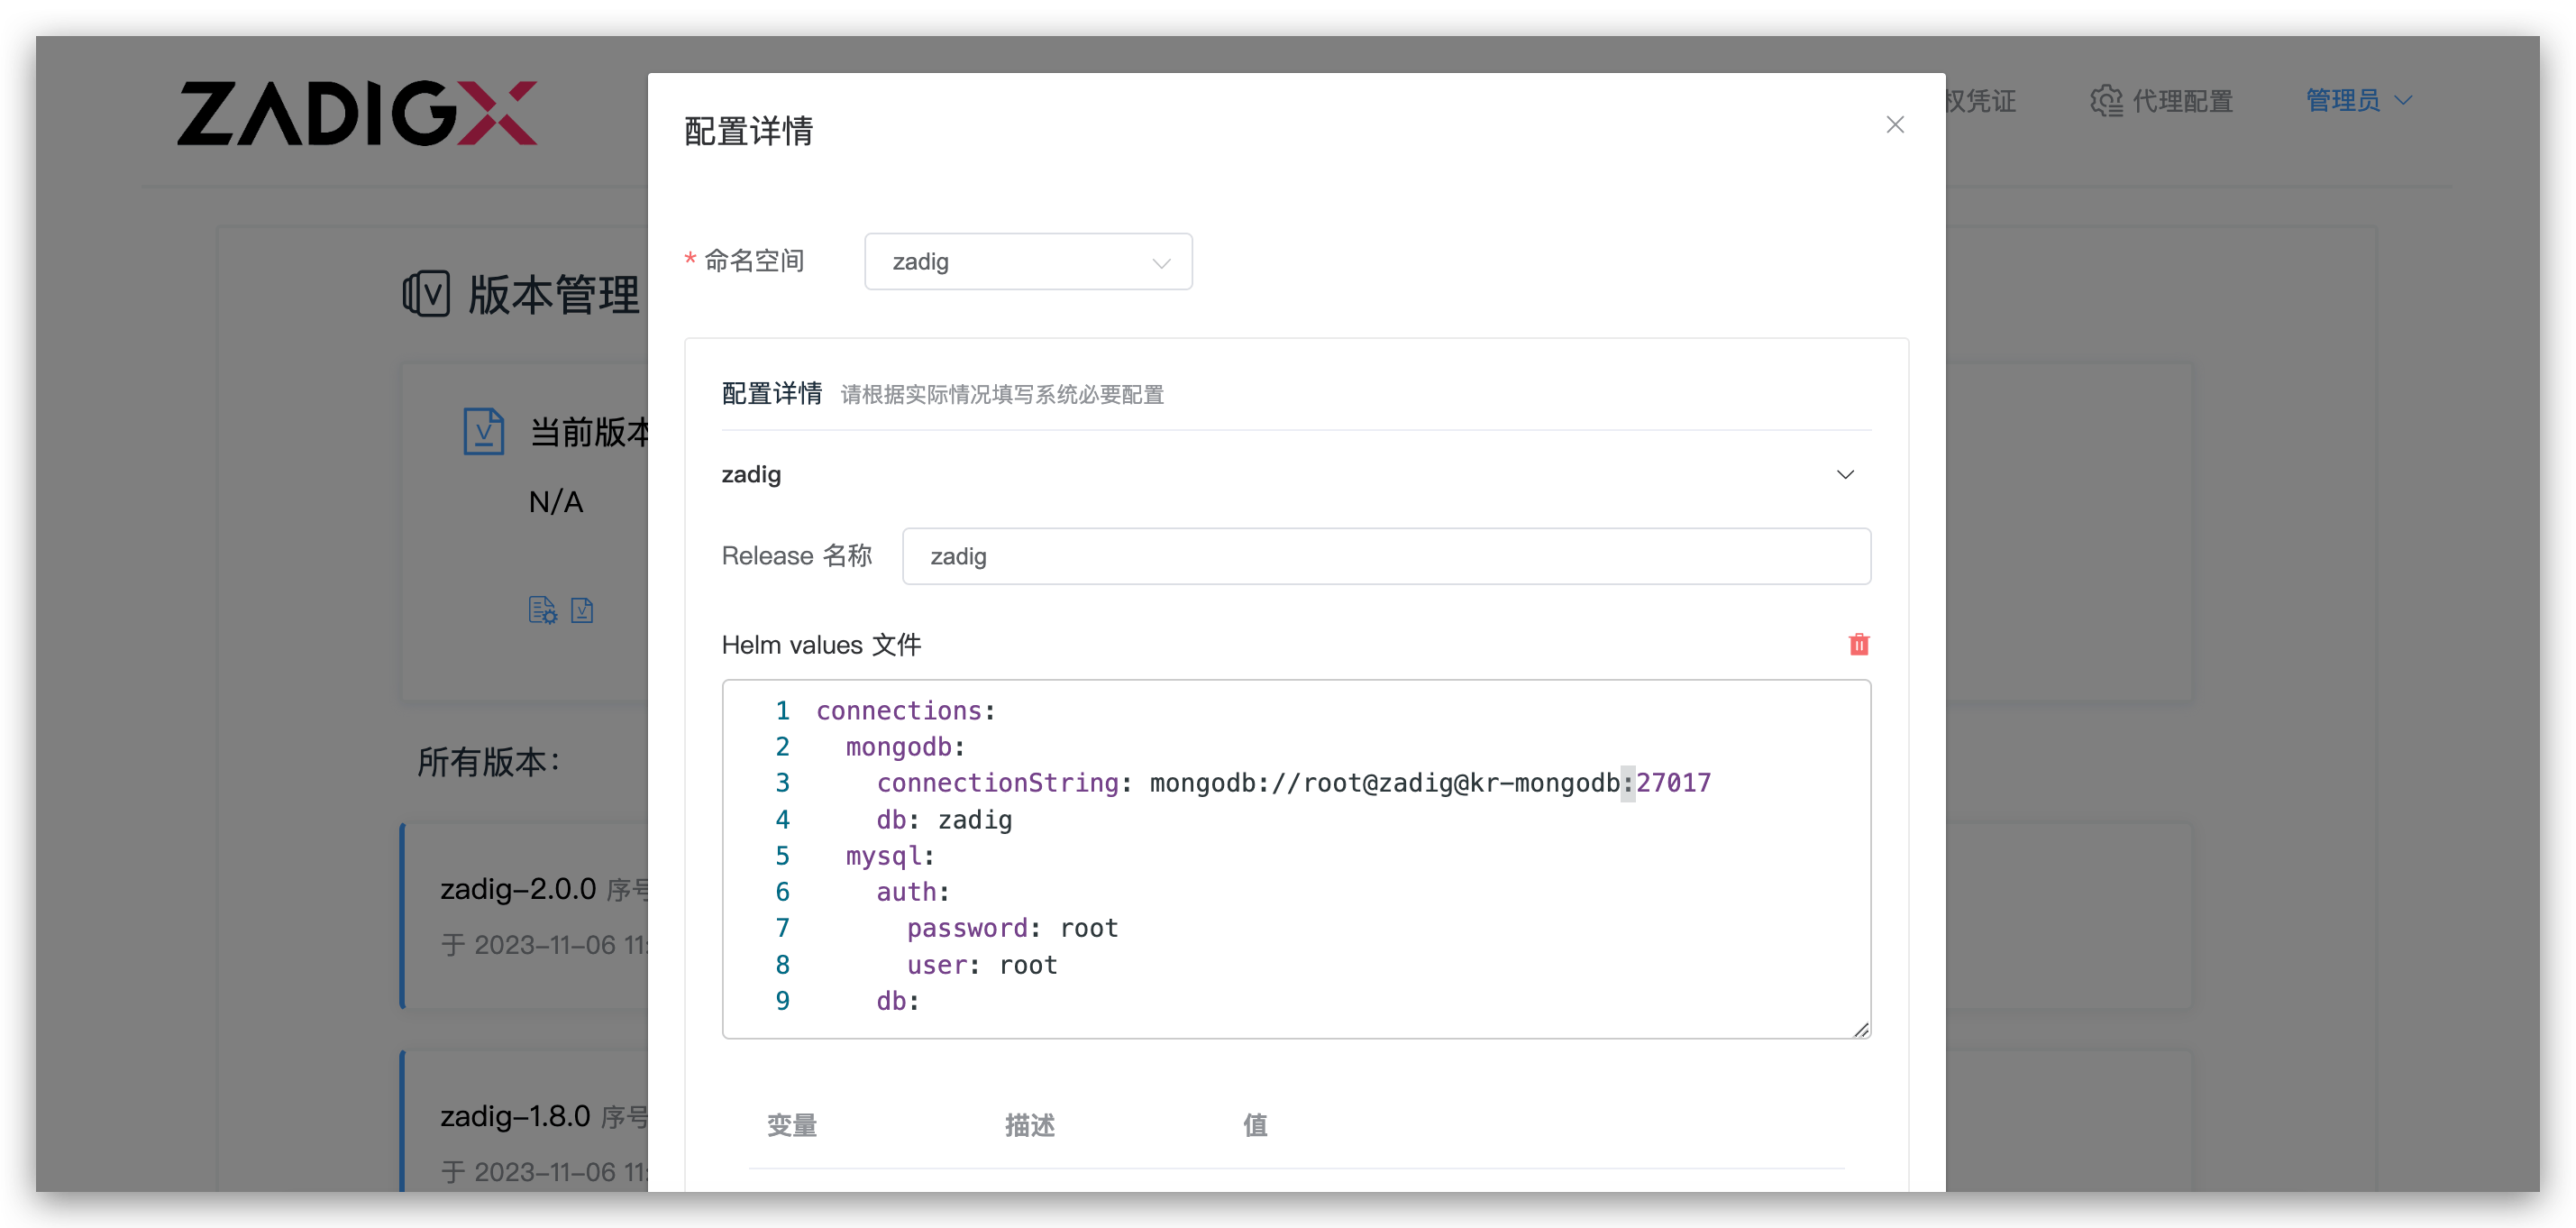
Configuration options:
Namespace: Zadig installation namespaceRelease Name: CustomizableHelm values File: Zadig installation parameters (supports YAML or key/value)- See here for parameter details
# Step 3: Access the System
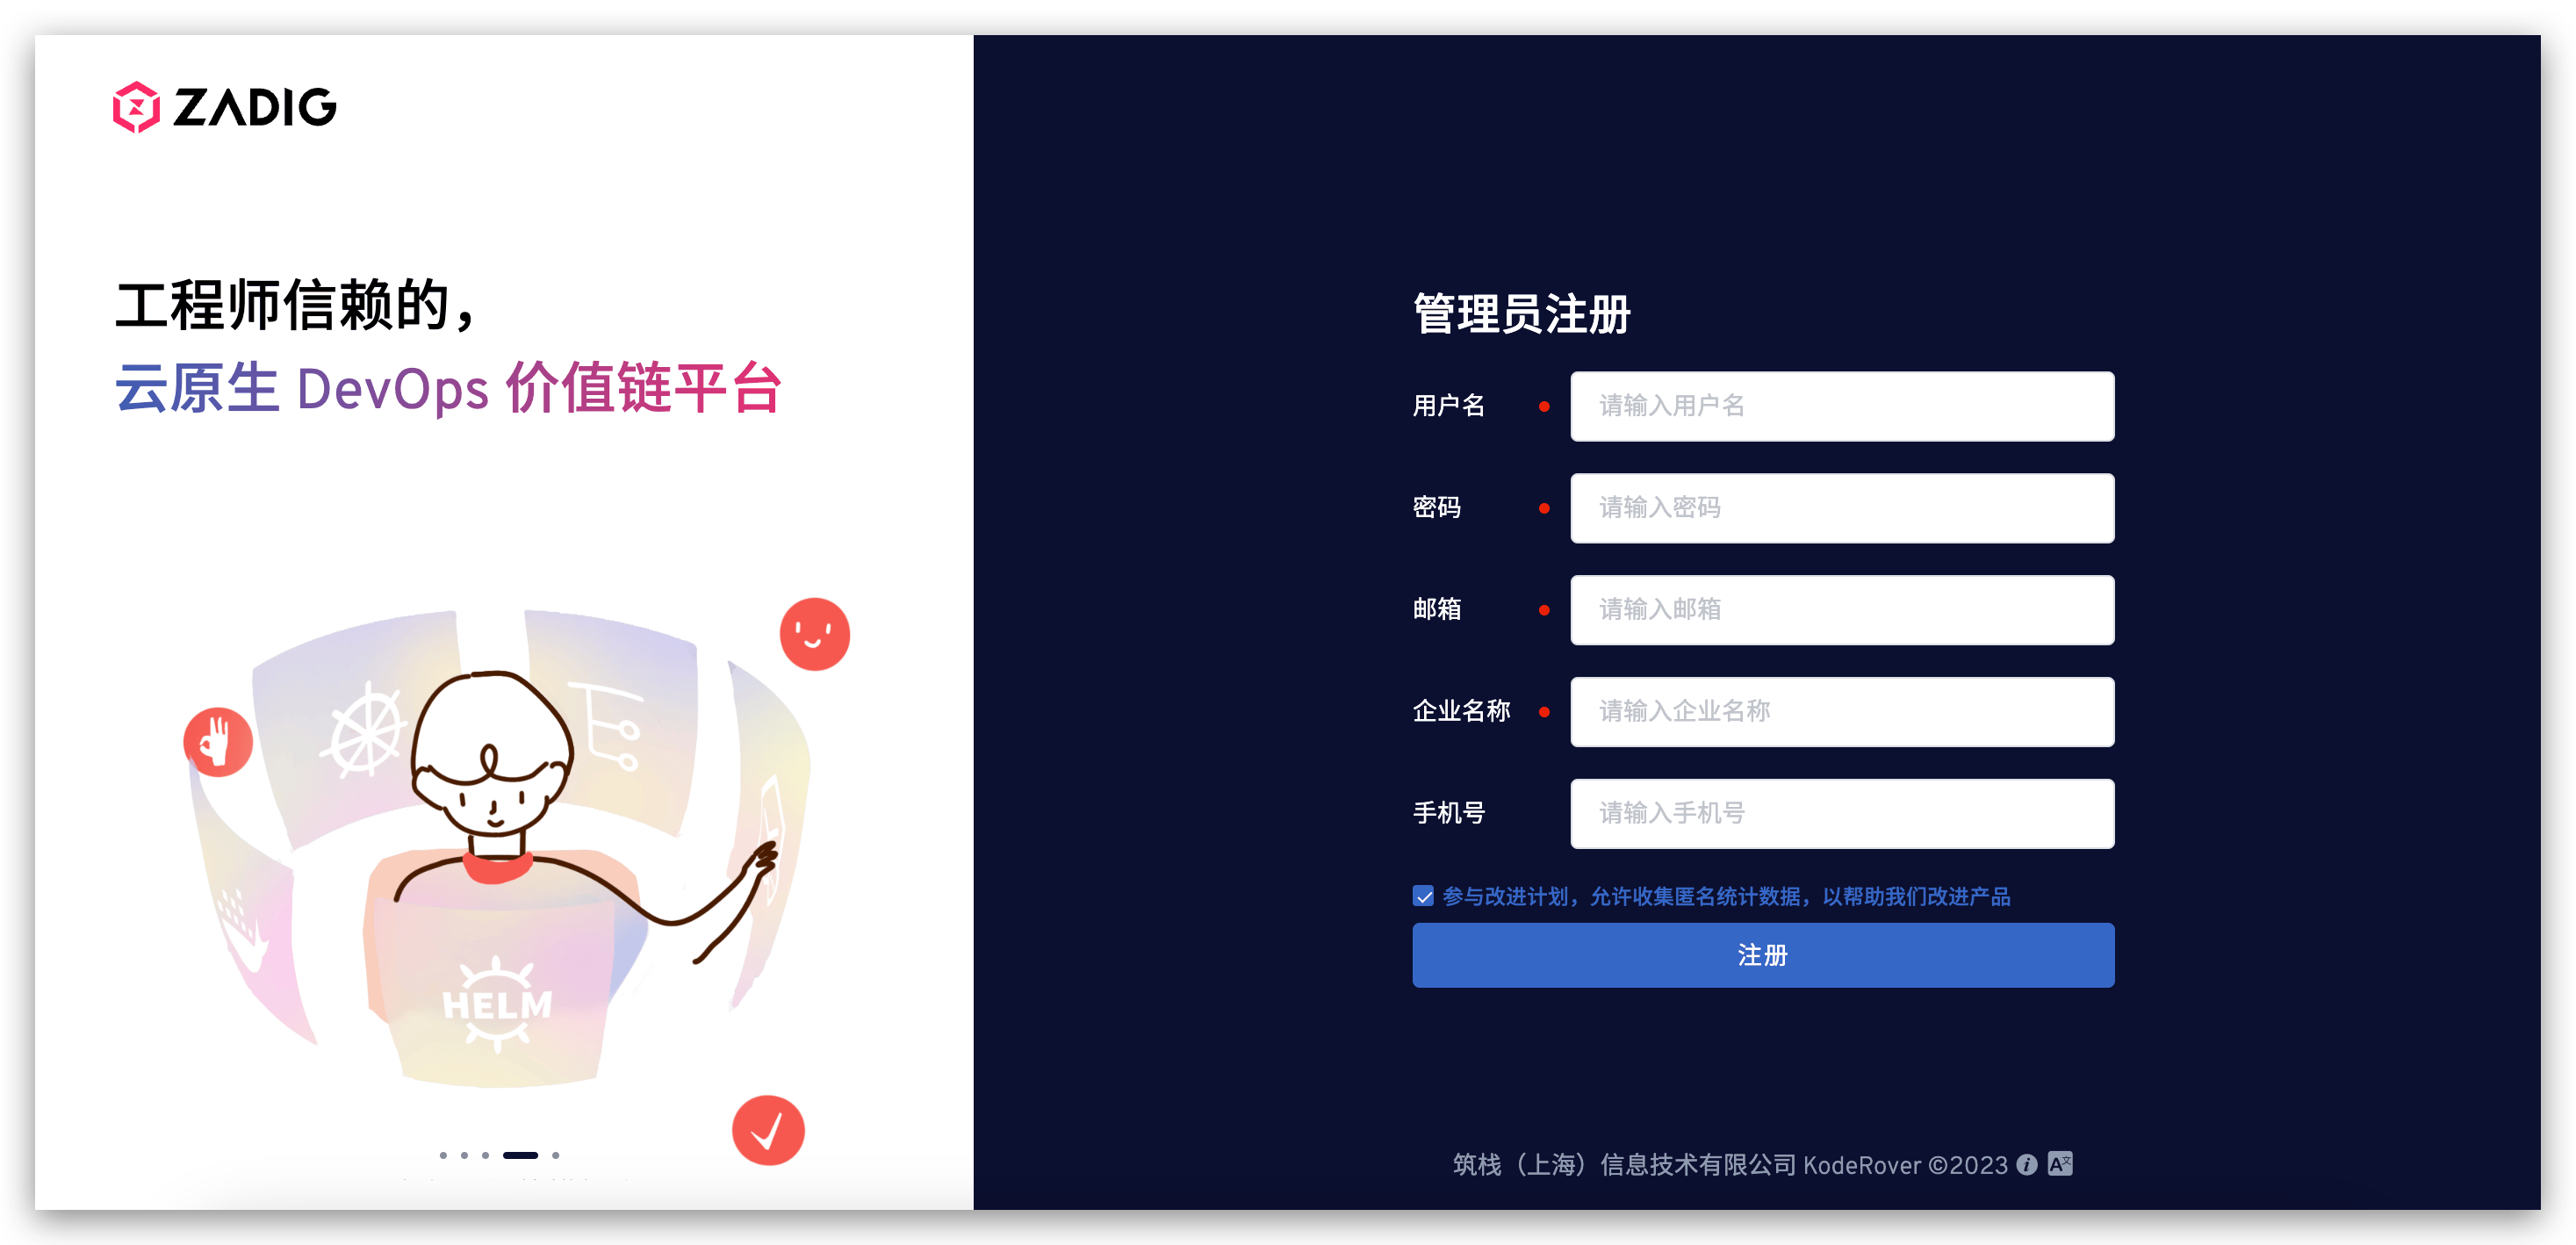
Register a system administrator on first login.
# Step 4: Configure License
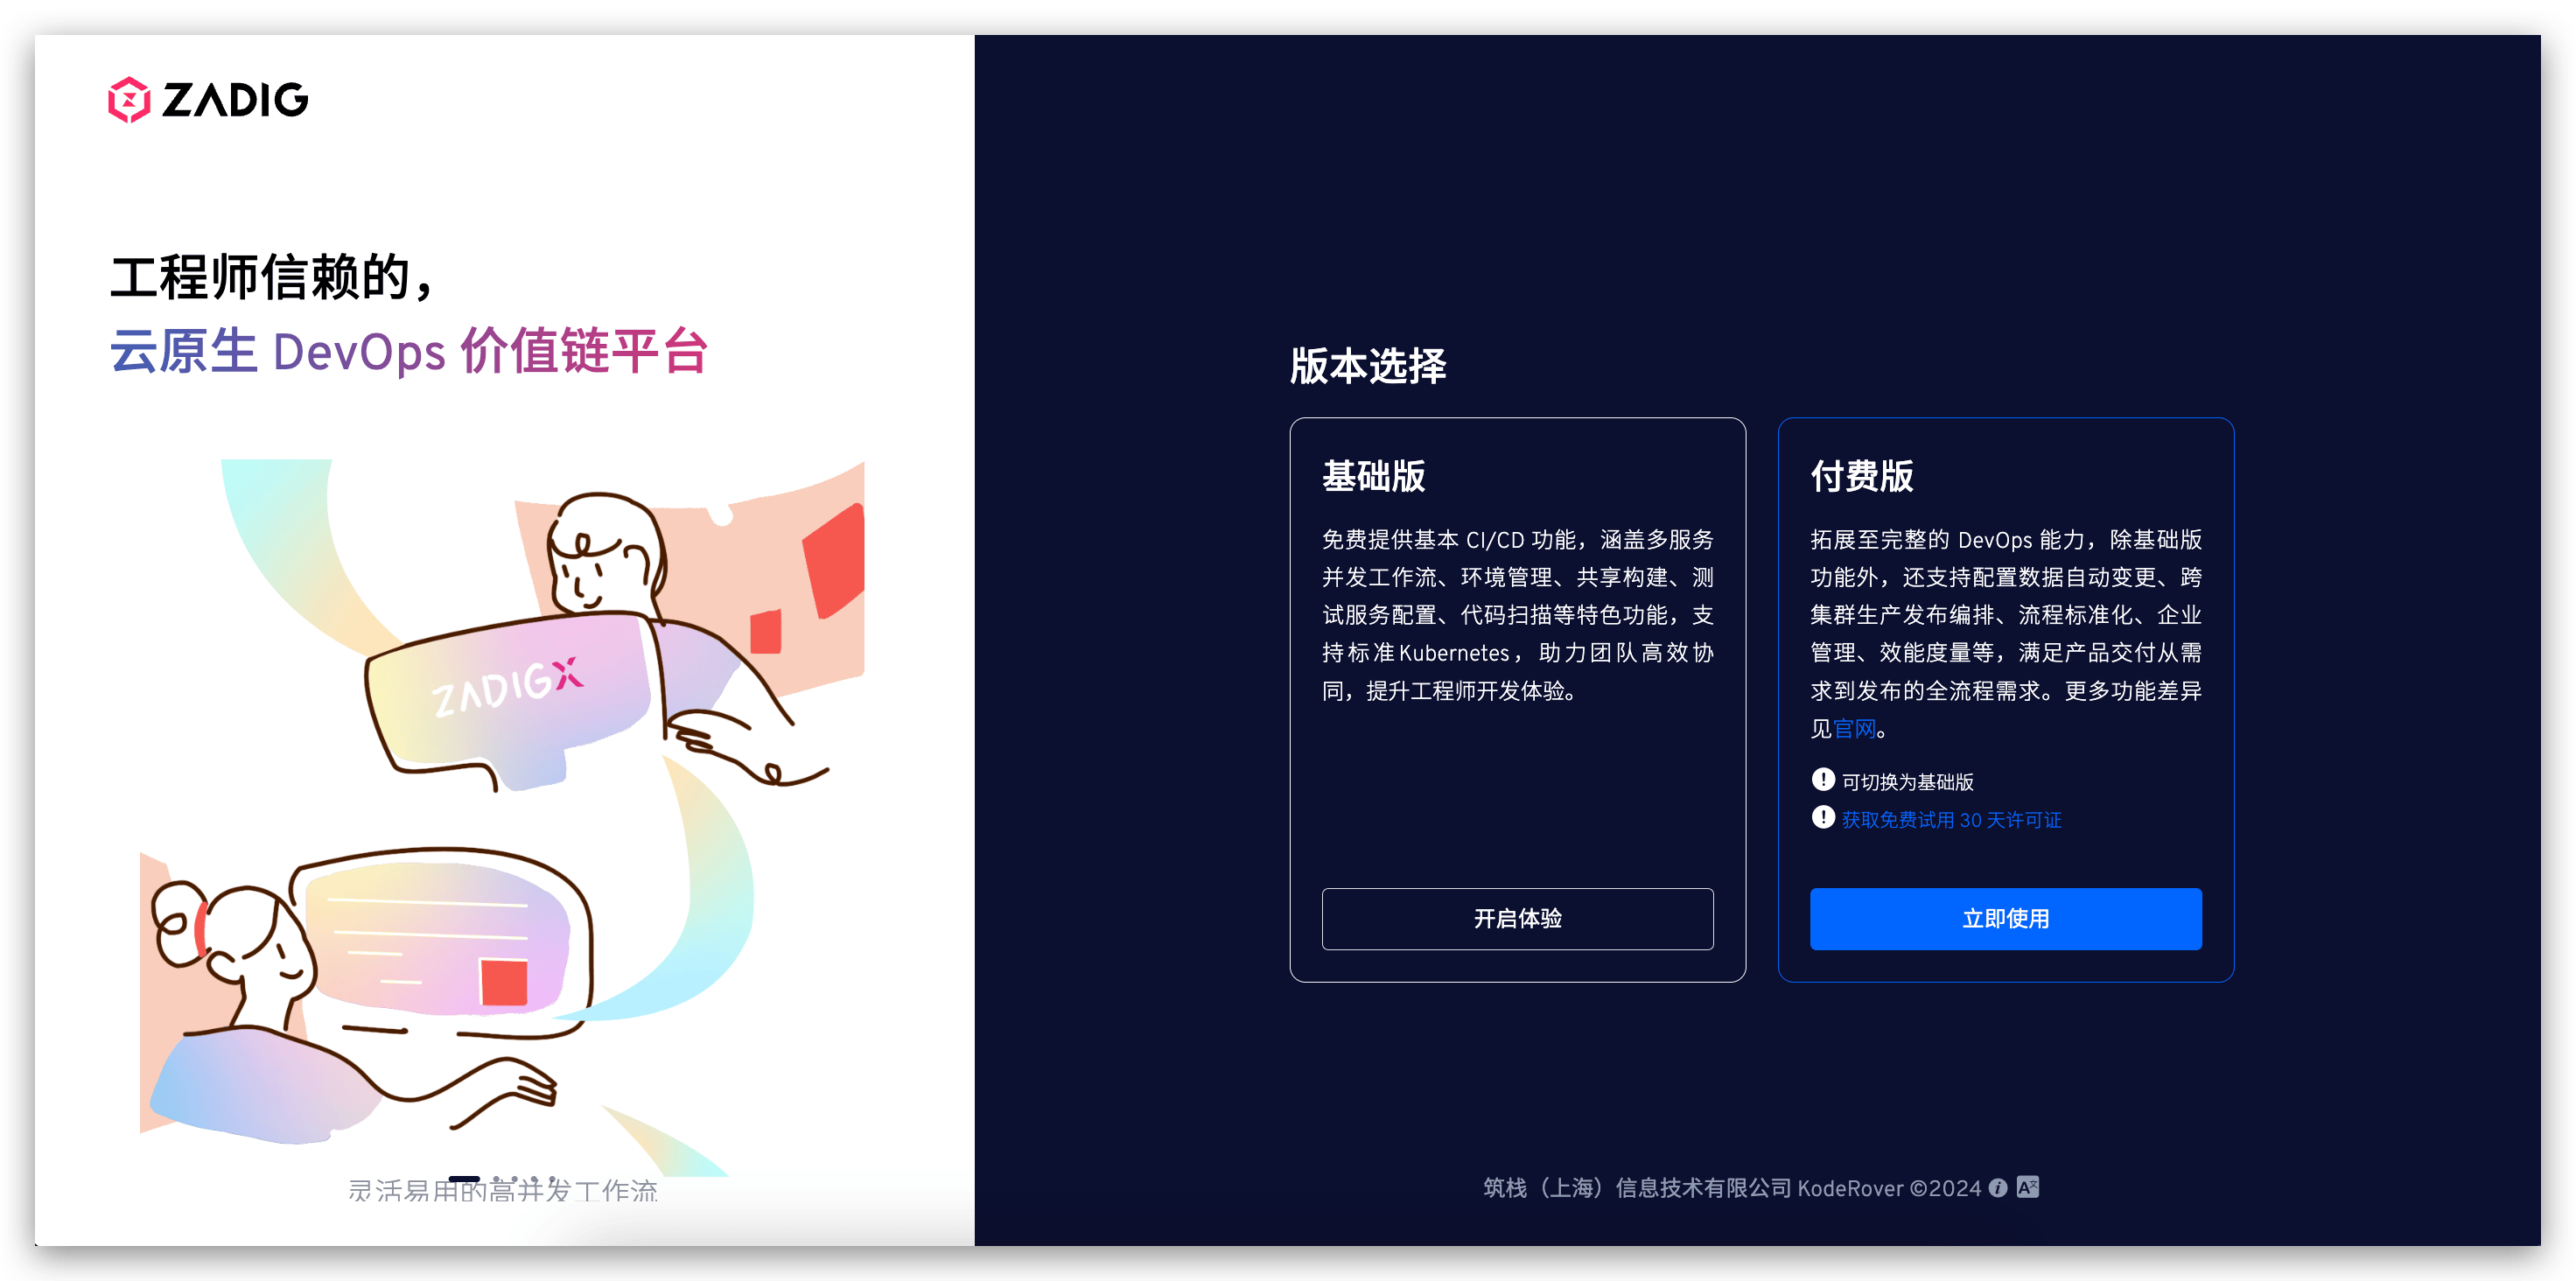
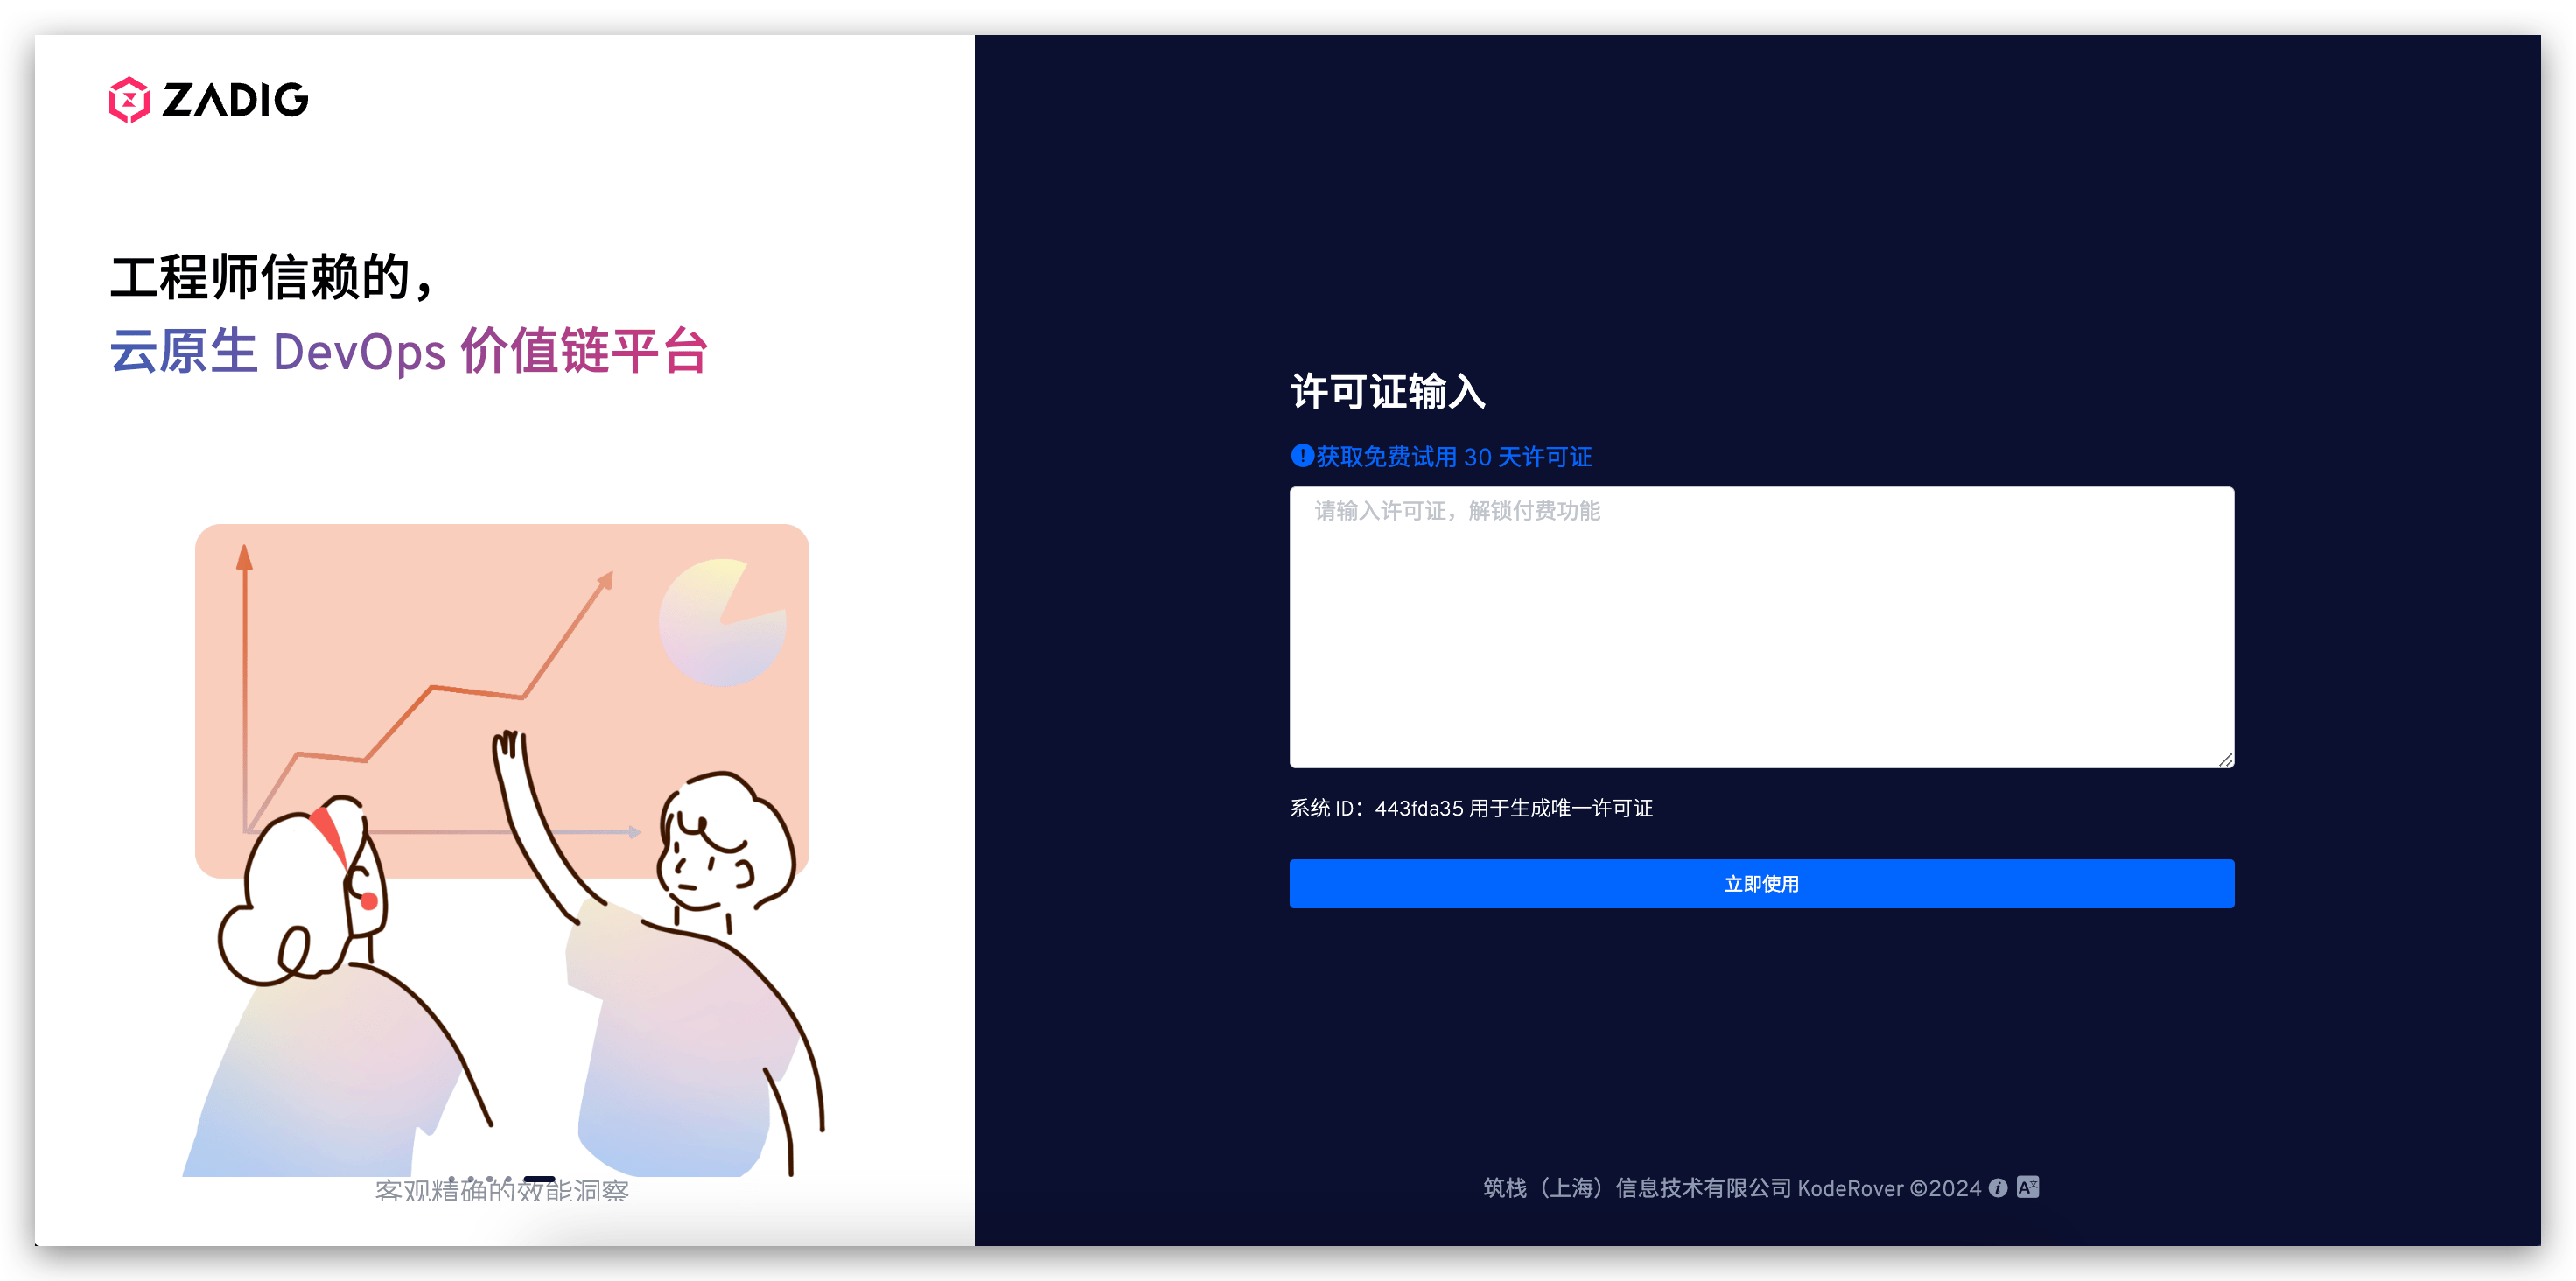
After registration and login, select "Paid Version" to configure the license.
# Upgrade Zadig
Warning
Do not upgrade across versions.
# Step 1: Backup Data
- Be sure to backup data, see: Backup data
- Backup current installation parameters
# Step 2: Perform the Upgrade
Customer console > Version, click Find New Version, select the new version, then click Deploy.
Fill in the backup parameters in Helm values File and deploy.
Tip
Do not modify namespace or Release name during upgrade.
# Step 3: Verify Upgrade
After deployment, clear browser cache, log in to Zadig, and check:
- Account system login works
- Project/workflow/environment/service/build/integration data is normal
- Service instances and workflows run normally
- High-frequency features are available
# Rollback Zadig
Warning
Please confirm that Zadig is in a shutdown state before rolling back. Do not use the Zadig system during the rollback process.
# Step 1: Restore Data
Restore backup data for the target version, see: Data Import
# Step 2: Perform Rollback
Customer console > Version, select the target version, then click Deploy.
Configure Helm values File with backup parameters.
Tip
Do not modify namespace or Release name during rollback.
# Step 3: Verify Rollback
After deployment, clear browser cache, log in to Zadig, and check:
- Account system login works
- Project/workflow/environment/service/build/integration data is normal
- Service instances and workflows run normally
- High-frequency features are available
# Installation Parameter Description
# General Installation Parameters
| Parameter Name | Required | Remark |
|---|---|---|
| global.extensions.extAuth.extauthzServerRef.namespace | Yes | Namespace where Zadig is installed |
| endpoint.FQDN | Required when using domain access | Full URL to access Zadig |
| endpoint.type | Required when using IP+Port access | Set to: IP |
| endpoint.IP | Required when using IP+Port access | Any K8s node external IP |
| gloo.gatewayProxies.gatewayProxy.service.httpNodePort | Required when using IP+Port access | Port number < 30000 - 32767> |
| gloo.gatewayProxies.gatewayProxy.service.type | Required when using IP+Port access | NodePort |
| dex.config.staticClients[0].redirectURIs[0] | Yes | Domain: http://${endpoint.FQDN}/api/v1/callbackIP+Port: http://${IP}:${PORT}/api/v1/callback |
| protocol | No | Protocol for accessing ZadigX, default http |
# High Availability Installation Parameters
High availability uses external MongoDB and MySQL; persistence and HA are provided by the database vendors.
| Parameter Name | Required | Remark |
|---|---|---|
| tags.mysql | Yes | Set to false to disable built-in MySQL |
| connections.mysql.host | Yes | MySQL connection address |
| connections.mysql.auth.user | Yes | MySQL username |
| connections.mysql.auth.password | Yes | MySQL password |
| dex.config.storage.config.host | Yes | Dex MySQL host |
| dex.config.storage.config.port | Yes | Dex MySQL port |
| dex.config.storage.config.user | Yes | Dex MySQL username |
| dex.config.storage.config.password | Yes | Dex MySQL password |
| tags.mongodb | Yes | Set to false to disable built-in MongoDB |
| connections.mongodb.connectionString | Yes | MongoDB connection string, escape multiple addresses, e.g. mongodb://user:password@8.10.20.20\,8.10.20.30 |
| ee.mongodb.db | Yes | MongoDB database name |
